Kitchen Floor Remodel
It all began with blisters on our wood laminate floor. Obviously moisture had gotten in, perhaps spills from the sink. No concern, right?


It all began with blisters on our wood laminate floor. Obviously moisture had gotten in, perhaps spills from the sink. No concern, right?
Well water is always a nightmare. It's insidious, gets anywhere and everywhere. And in a humid place like our town, it's darned hard to get rid of!
Here follows our yearlong journey for our flooring, as a result of this little water problem.
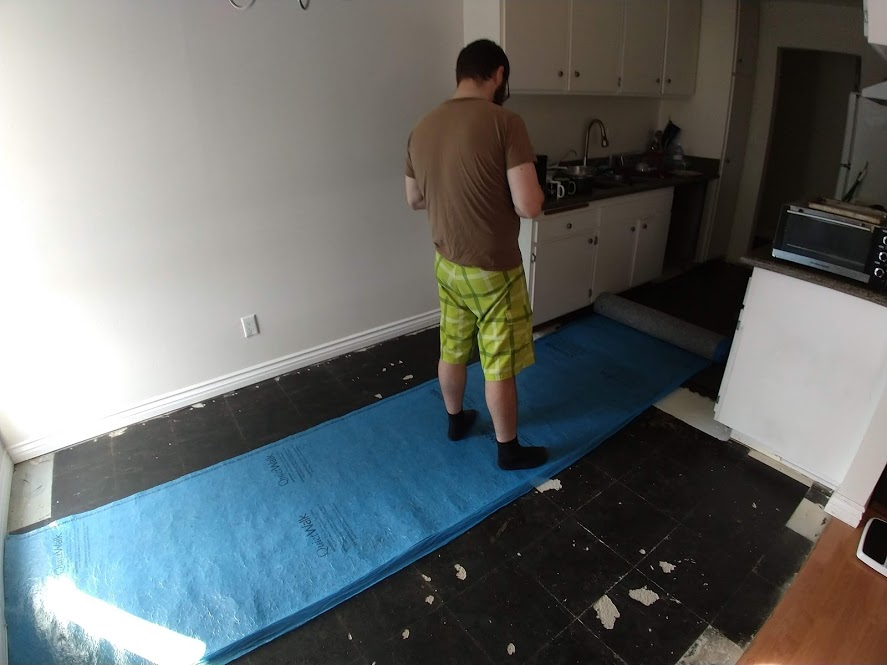
Under the assumption that this was just swelling from surface water spilled out of the sink, we ordered a mat. Mats are also good if you spend a lot of time standing around in the kitchen, they're anti-strain and keep you from getting sore.
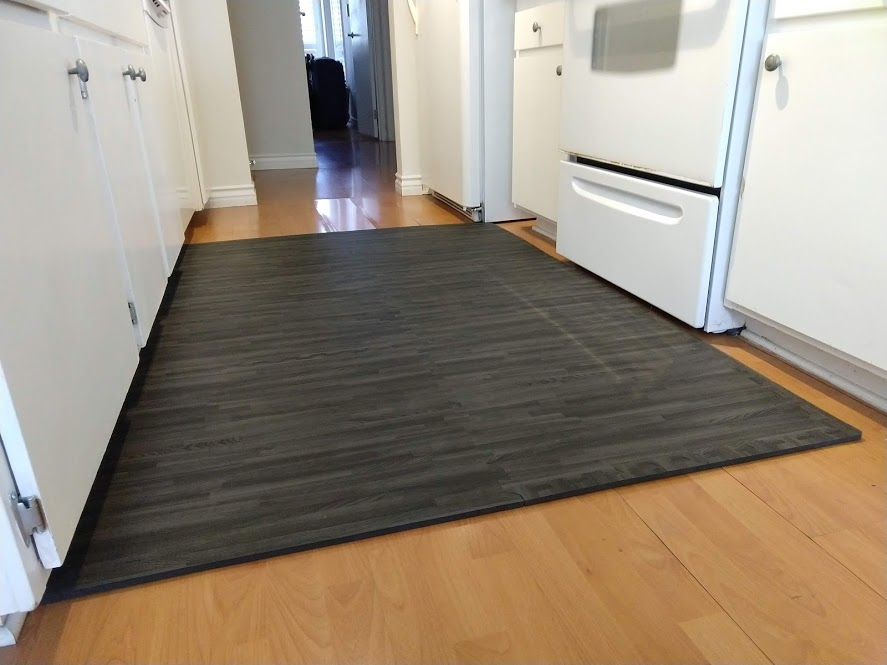
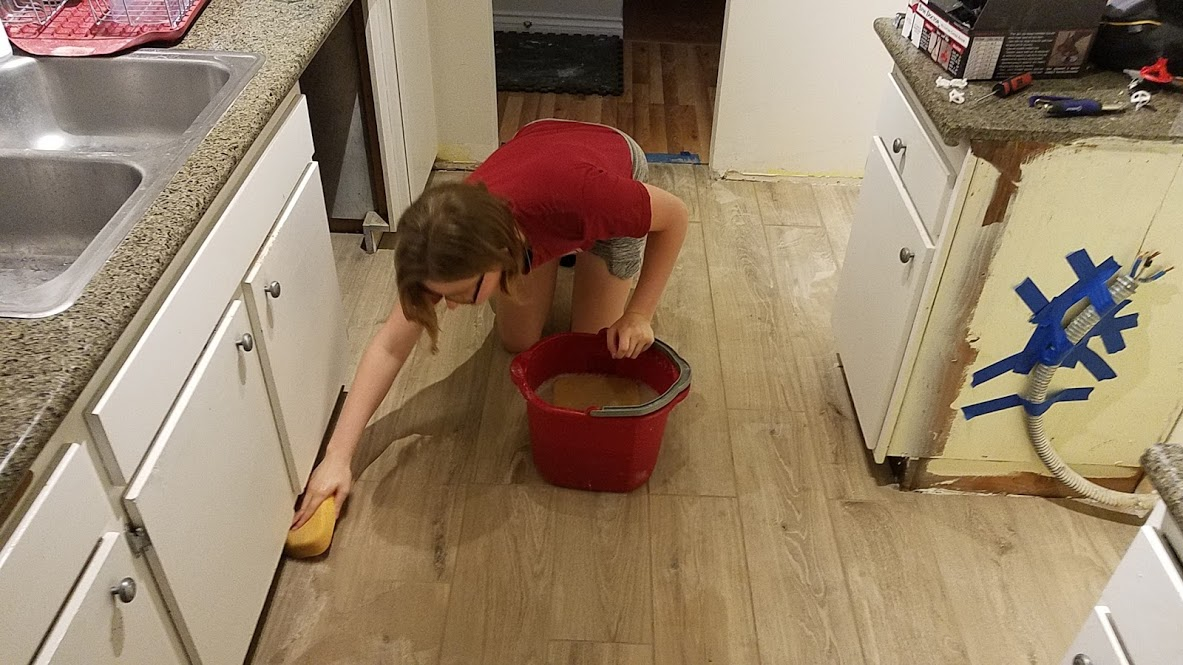
Things continued in a status quo until July, when we peeled up the matting and found that things were worse than it started. Something was clearly wrong, and the water was coming from underneath the matting. From underneath the wood flooring.
We tried having a plumber identify the problem (if it was a leak) but that was a wash. We got an apprentice who wasn't particularly knowledgeable, something of the wrong tool for the job.
We got the insurance company involved at that point, because as first time homeowners this was beyond our abilities. They had us bring in a water damage restoration specialist firm to figure out the problem.
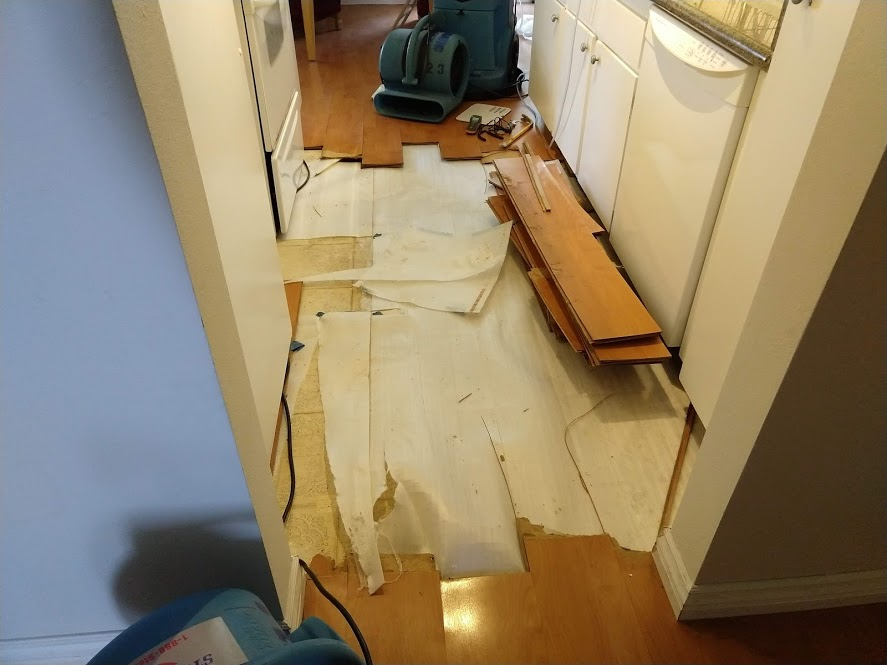
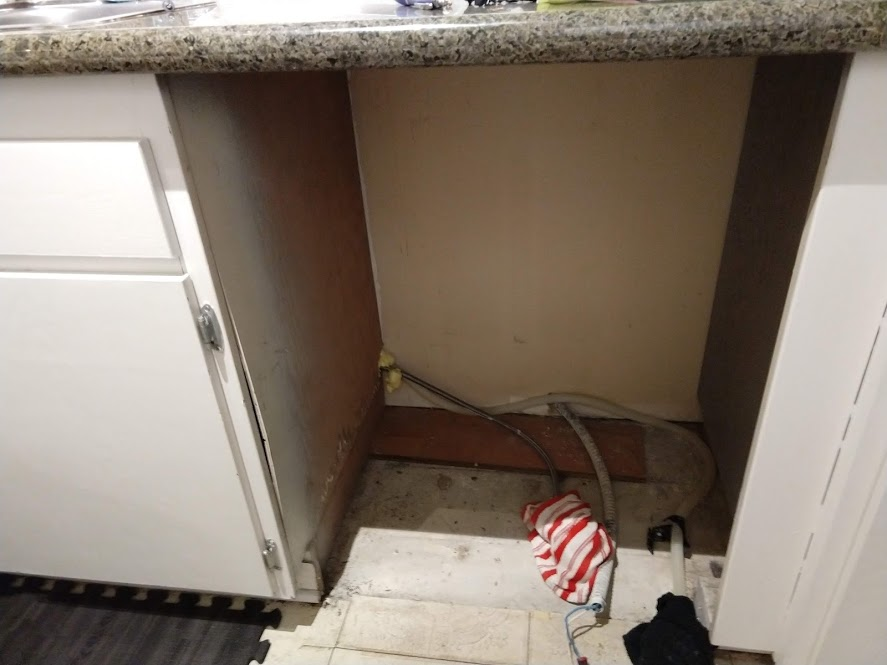
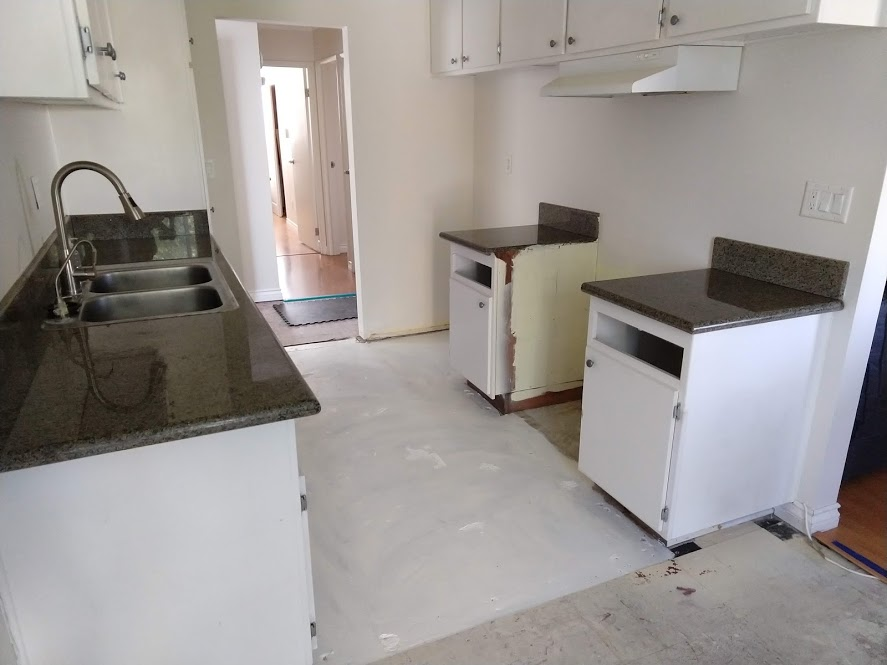
During the worker's inspection they found that the dishwasher was simply dumping its water onto the wooden floor beneath it! So for months, every time we ran the dishwasher we added to water that slowly seeped around the edge of the wall and into the underlayment.
Next step was peeling up the floor boards to identify the extent of the damage. They also brought in big industrial fans and a dehumidifier to dry out the floor:
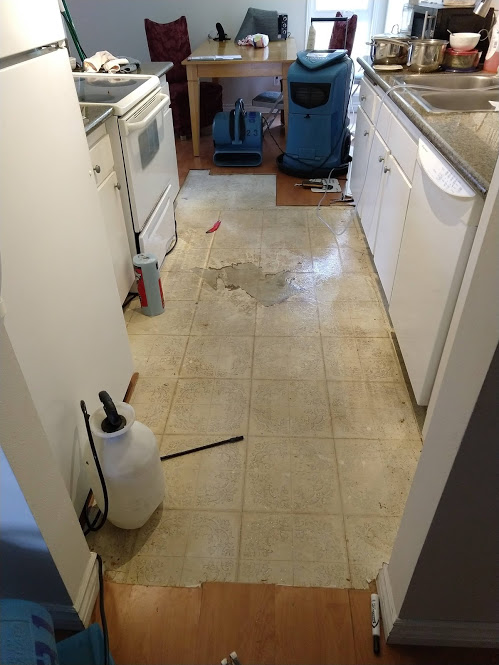
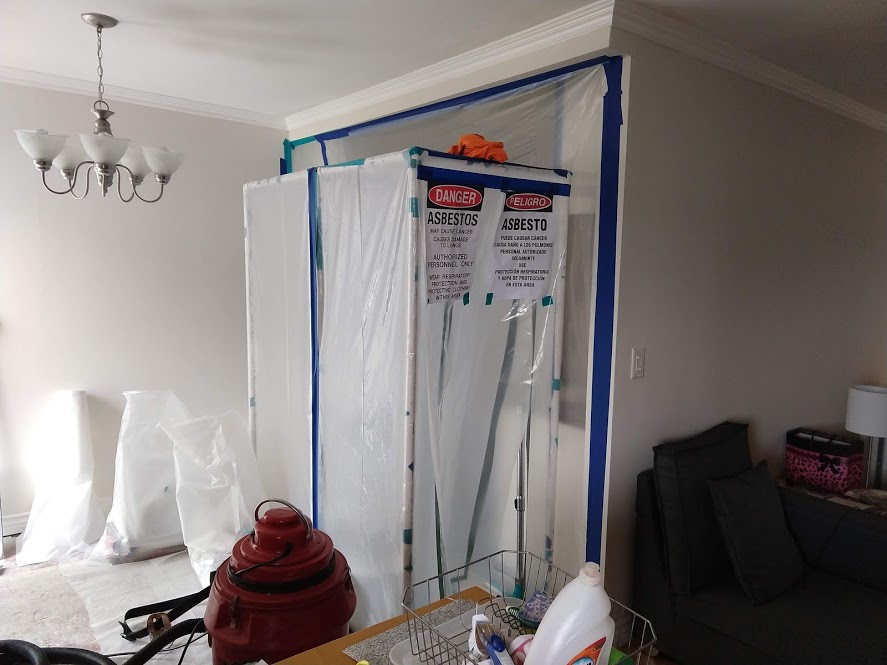
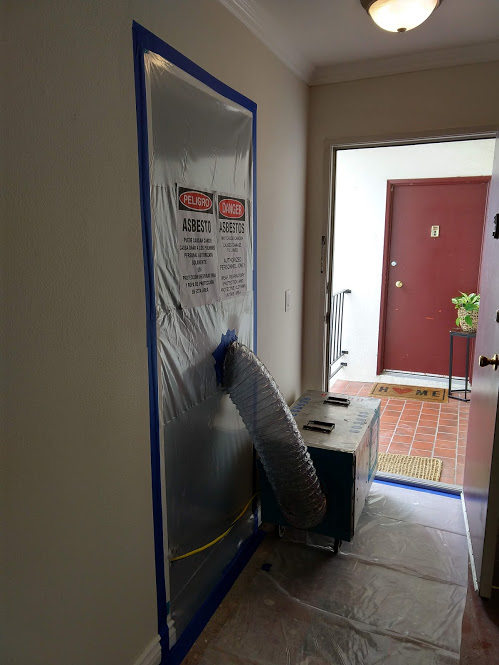
At this point, vinyl tile is exposed from underneath the underlayment of the wood composite boards. The technician stopped their probe for water here, since our place was built during the age of asbestos. They needed an asbestos tech to come in and verify that it was safe to continue.
The asbestos tech came, took samples, left... and discovered that that white vinyl tile contained asbestos indeed. Good for us, right?
Well, at least with that confirmed we could proceed with demolitions again, albeit in a safer manner. We got an asbestos cleanup special!
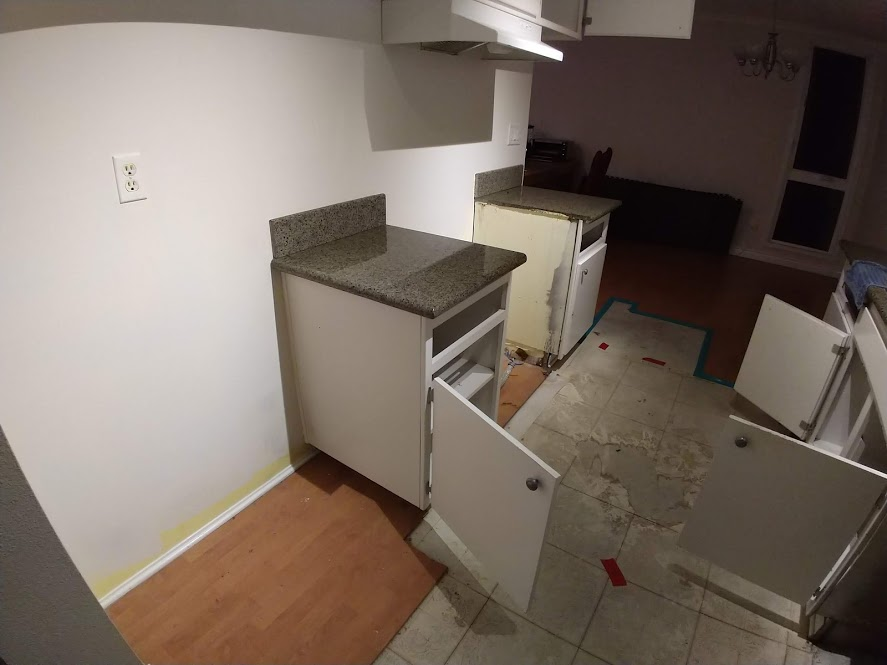
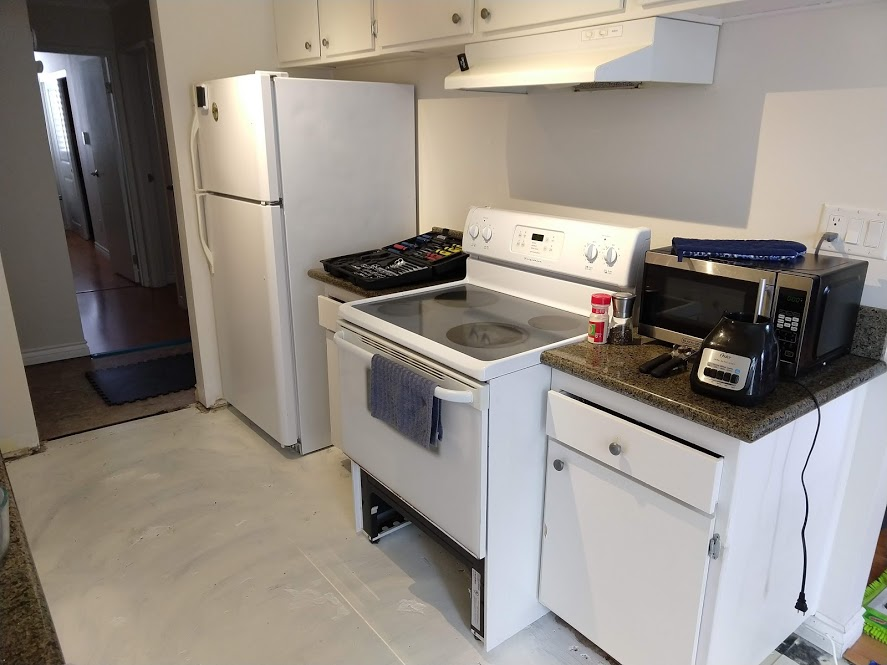
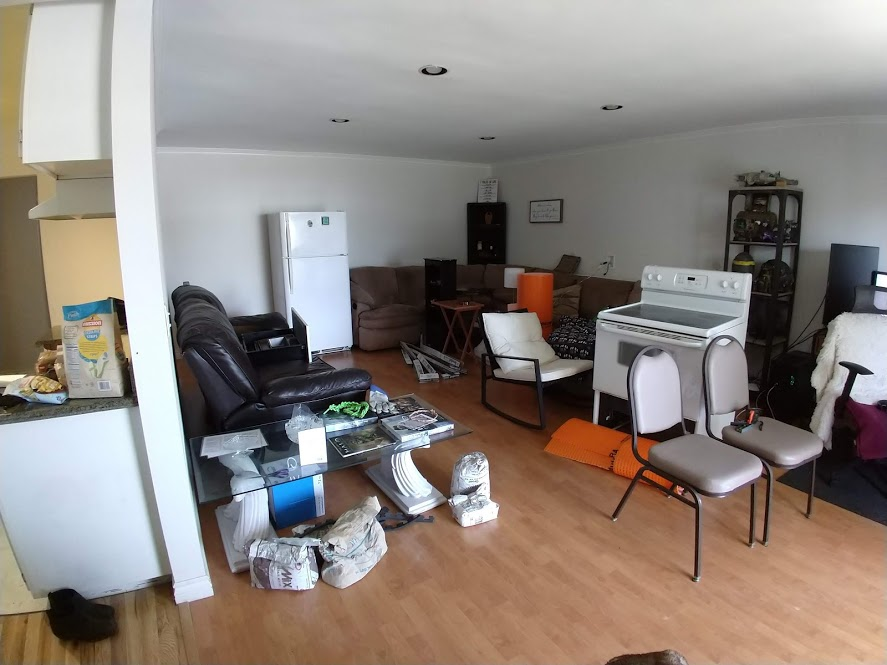
To start off, we needed to prep the cleanup area. Which meant removing everything from the kitchen, including drawers and dishes and appliances.

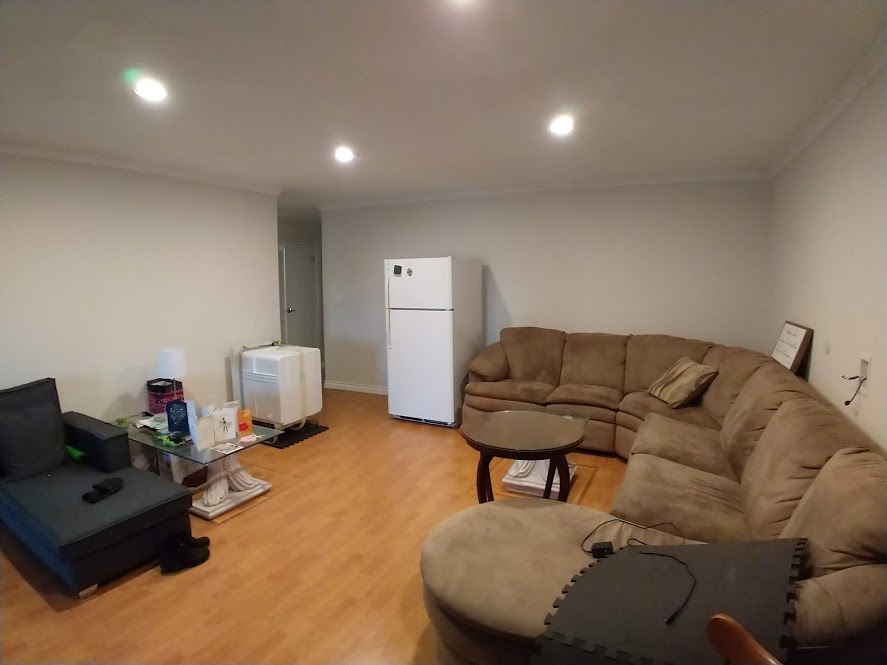
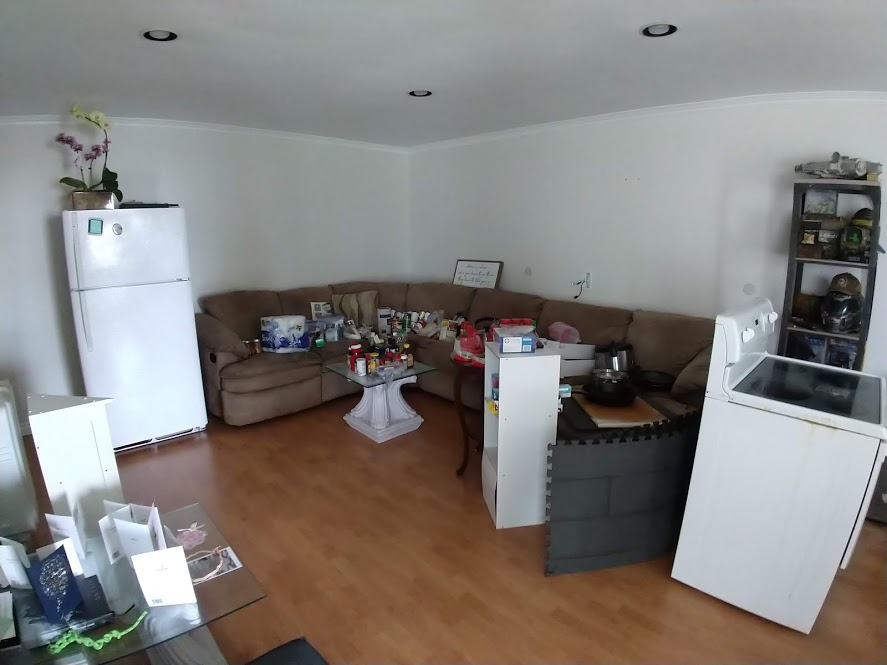
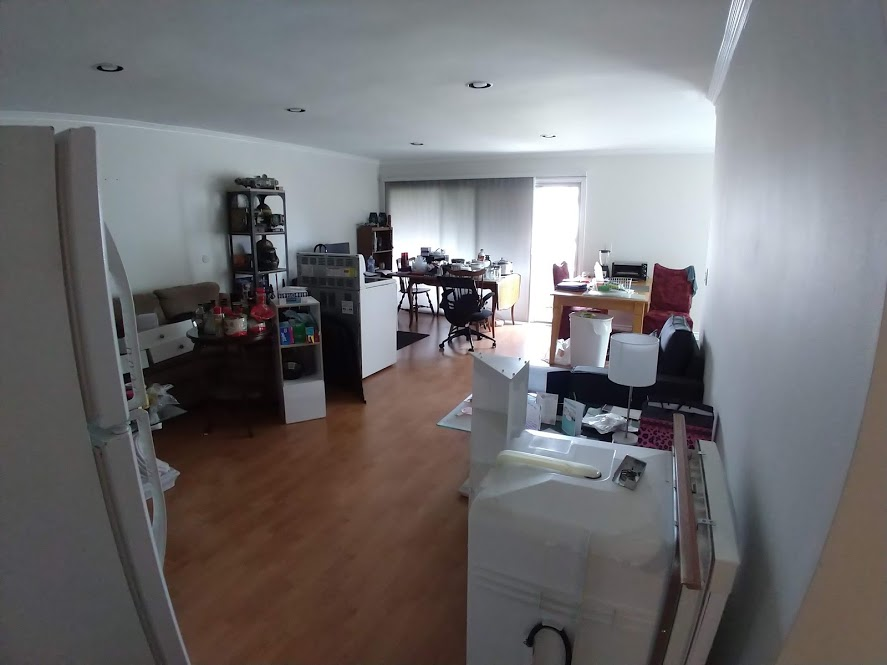
We moved everything over into the common area, since the kitchen was a no-go zone.
At this point it is August, and the asbestos crew arrived to set up the containment zone.
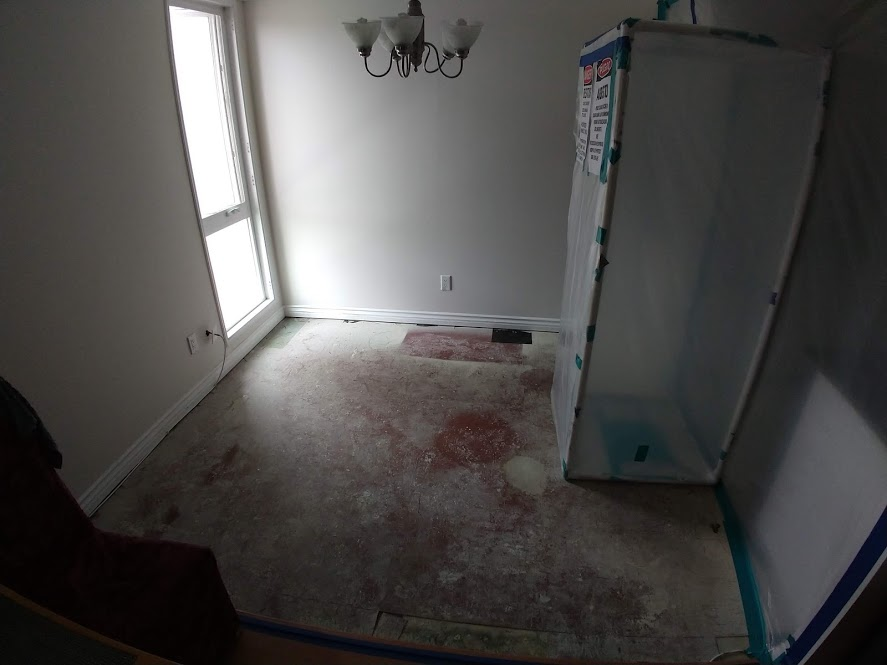
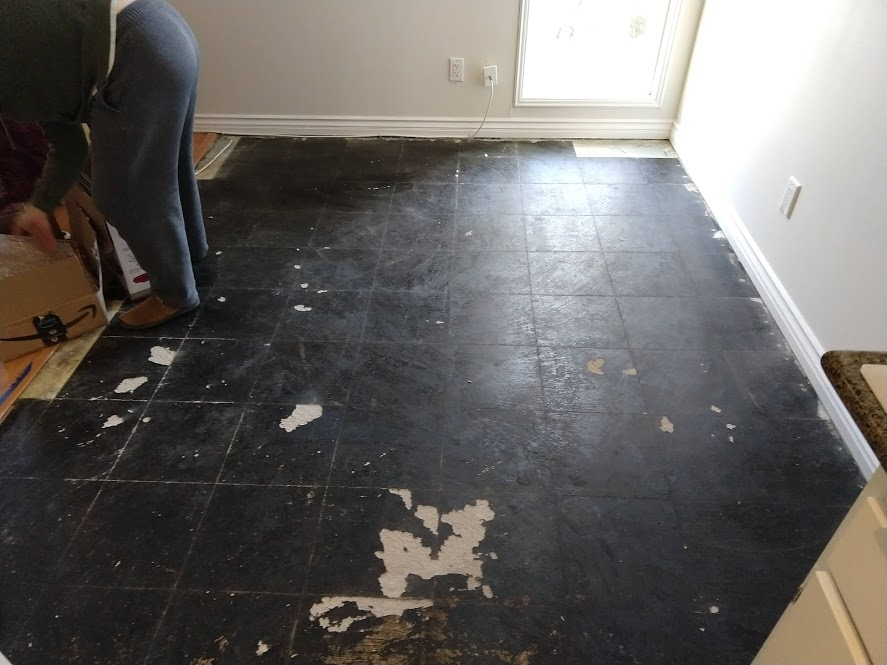
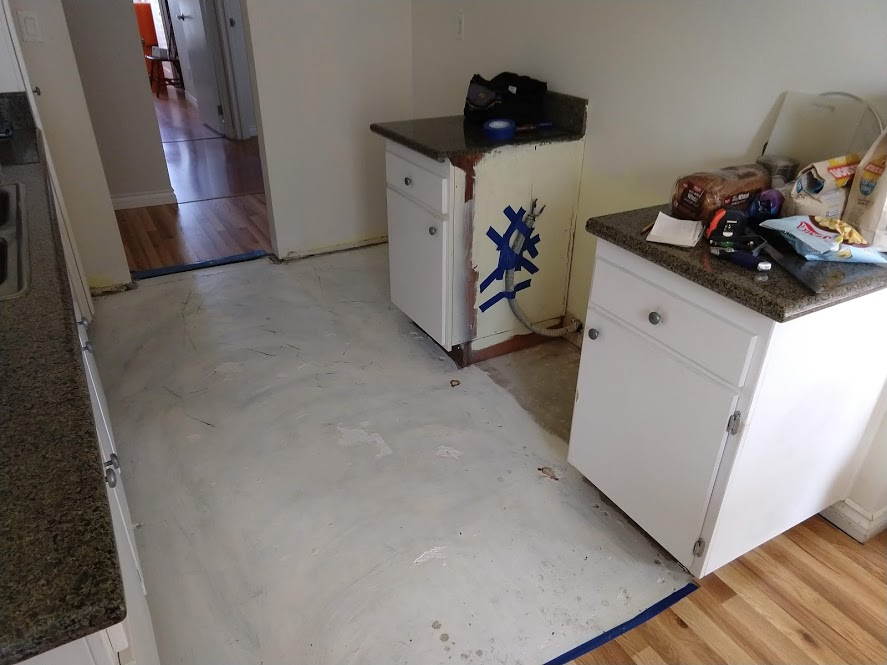
Then a couple days later, it was all over. We got all the asbestos vinyl tiles out of the kitchen:
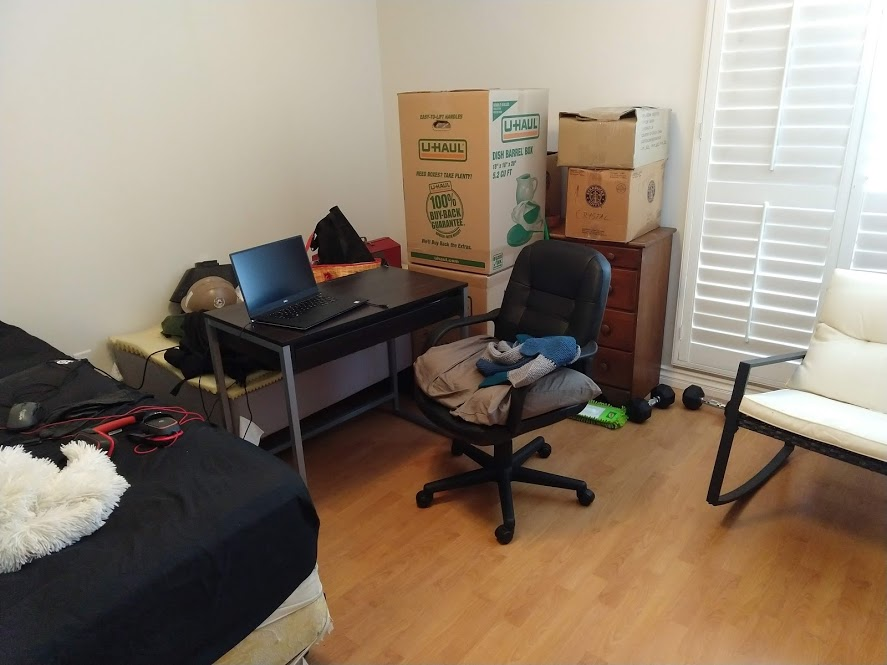
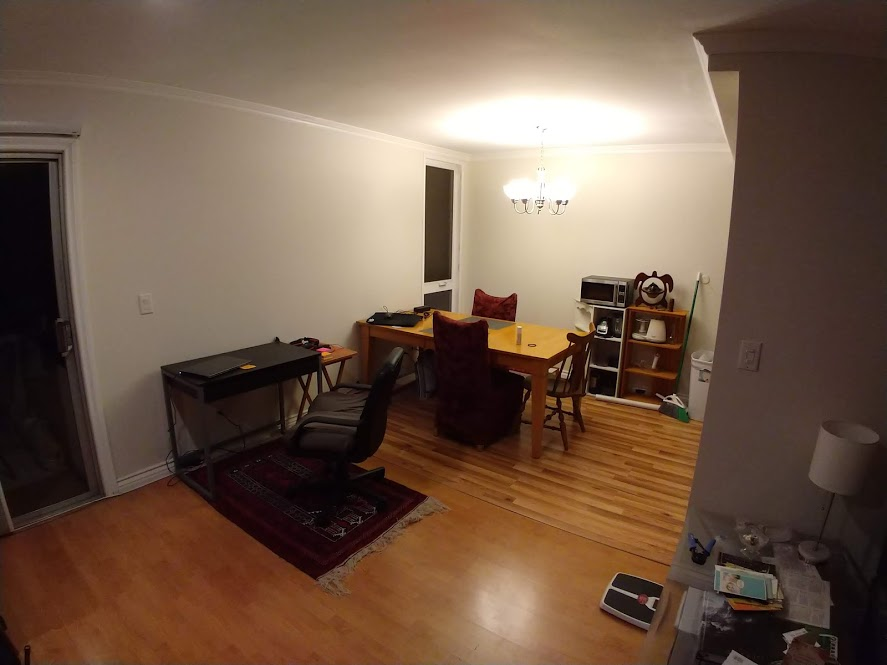
If you're wondering where I was working during all this upheaval, the answer is: in the guest room! There were too many distracting workers tromping back and forth in the common area, and no space out there anyway.
Then we got everything back into the kitchen. We have too much stuff in there, y'know? It took ages moving every dish, every pot and pan, every canned good...
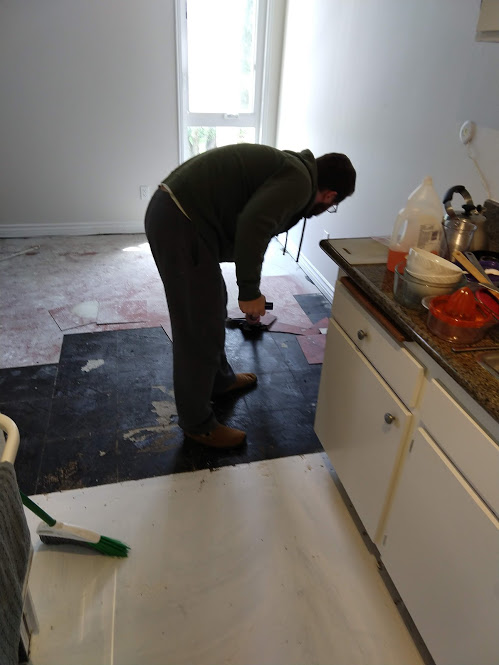
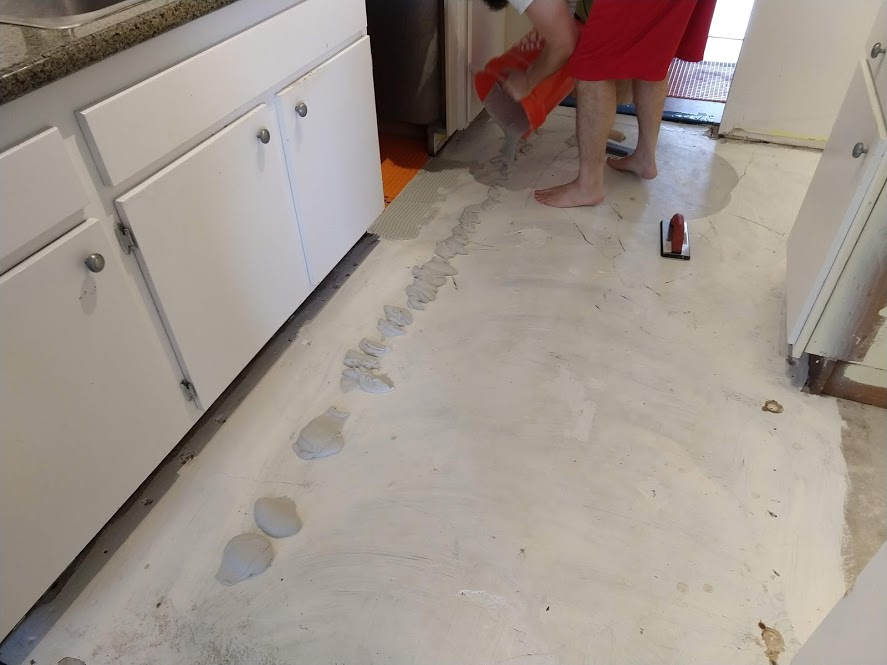
Next up was getting rid of the red ceramic tile that was in the entryway and the dining area. We got a tile scraper and got to work ourselves:
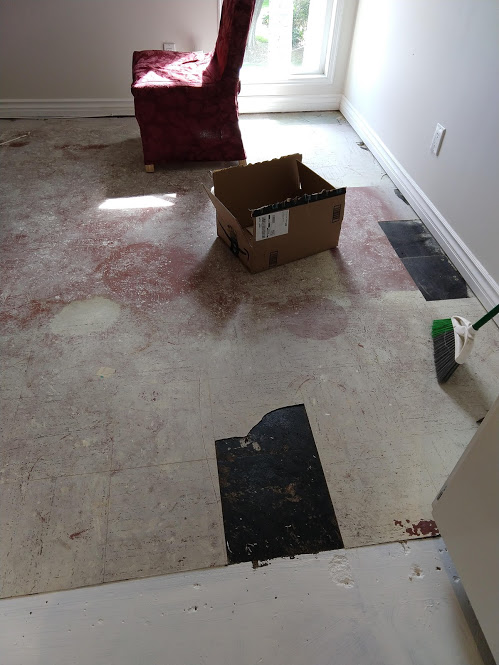
Thus we left off in mid-August 2020 with the demolitions done. That was a lot of hard work, most of it not ours to do!
We worked with insurance to estimate the cost of replacing the floor, elected to do it ourselves, and ordered the materials we'd need. We picked up again in October 2020.
The plan was simple: we'd put wood laminate boards down in the dining and entry areas, and use our brother's spare tile in the kitchen.
Well, simple is a bit of a misused word there. It's straightforward in planning, but as anyone of DIY knows it's easier to plan than it is to do. There's always snags!
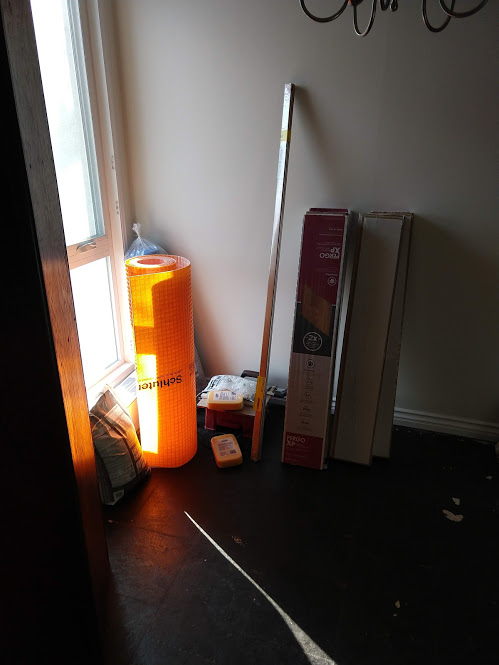
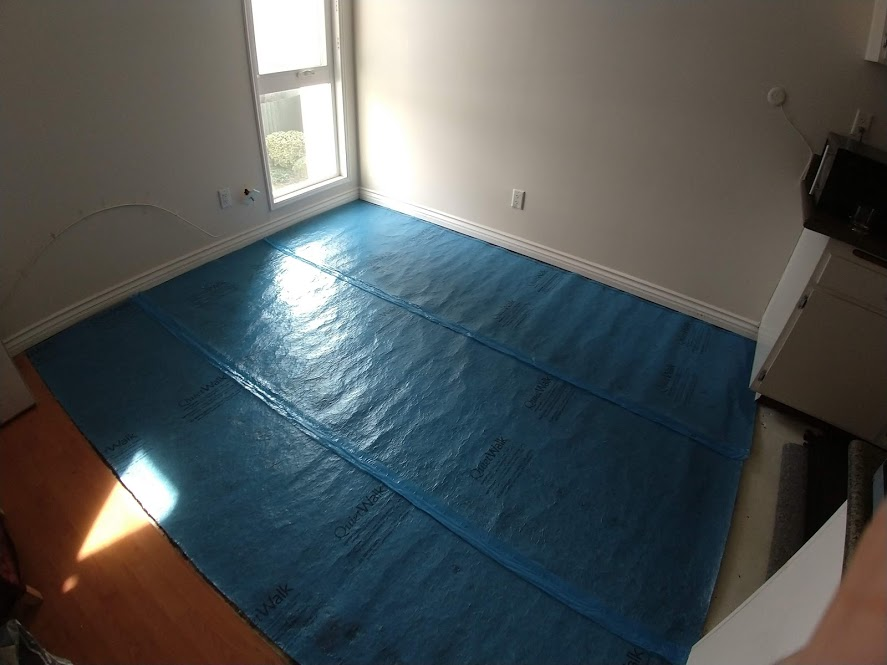
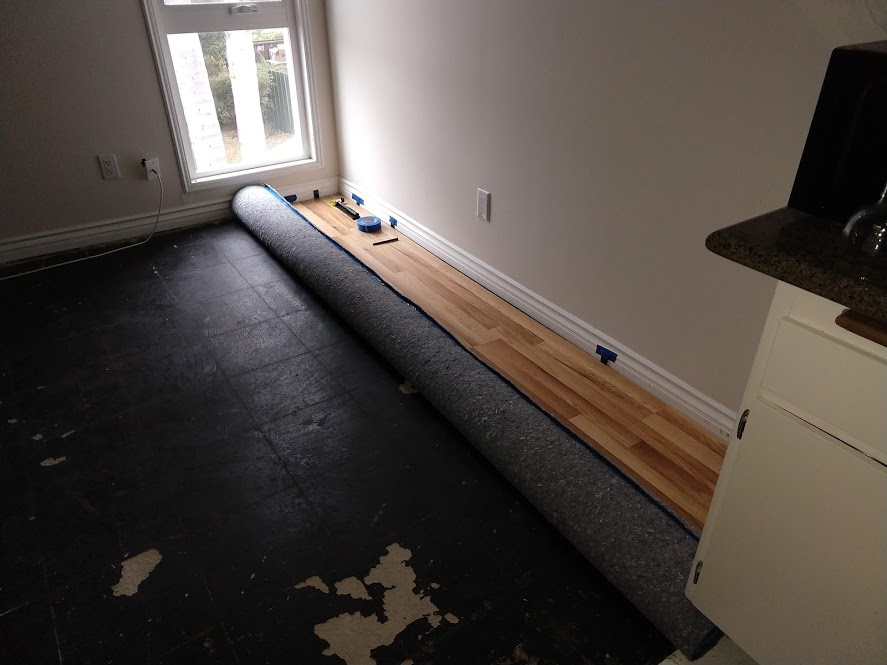
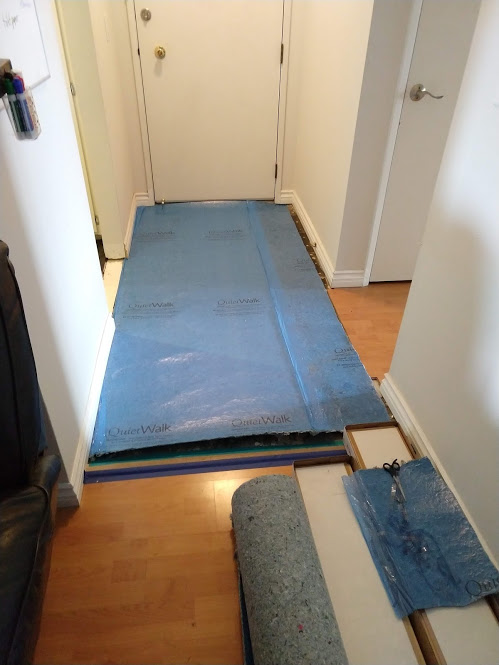
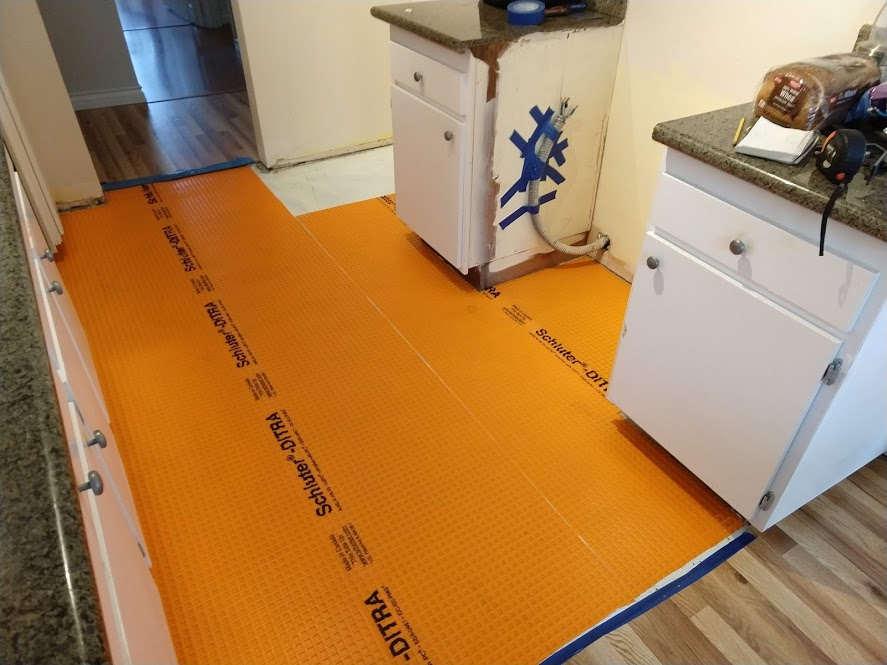
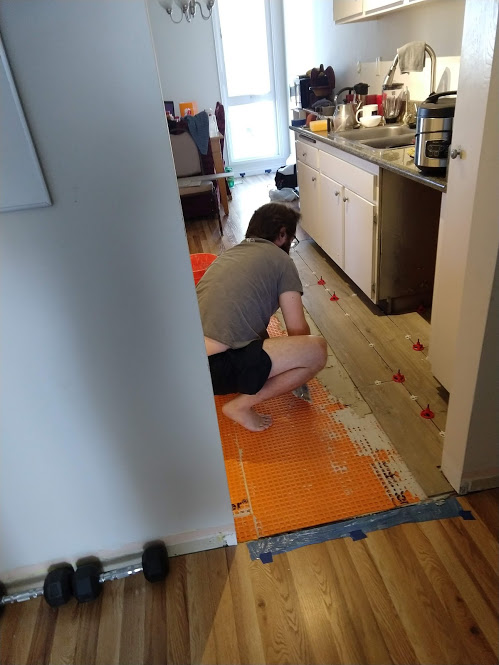
We started with the dining area, by putting down the underlayment for the wood laminate boards:
Remember that when we pulled out the dishwasher, there was a water line along with the drain line? Well that water line was connected to the hot water spigot under the sink.
Which meant that as long as the line was free dangling, we had to keep our hot water at the sink faucet shut off so that we didn't, y'know, flood the place. Again.
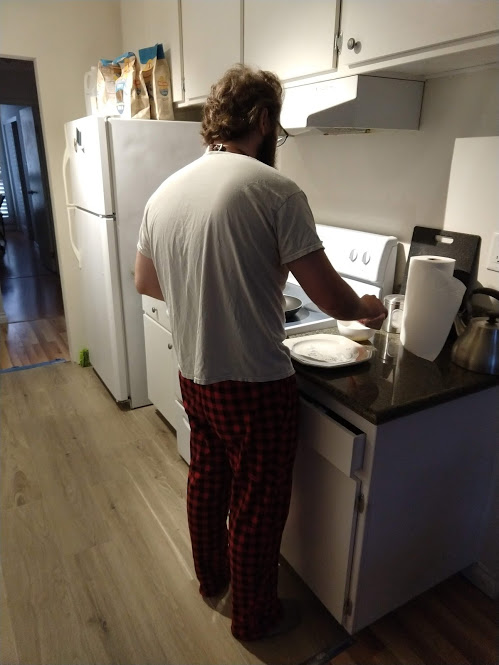
Not having hot water slowly drove John crazy. He'd have to fill up the bucket with hot water from the bathroom, then carry it to the kitchen sink. All a hassle we didn't need to do.
I asked him to pick up a copper cap from the hardware store, and lo and behold he found the right one:

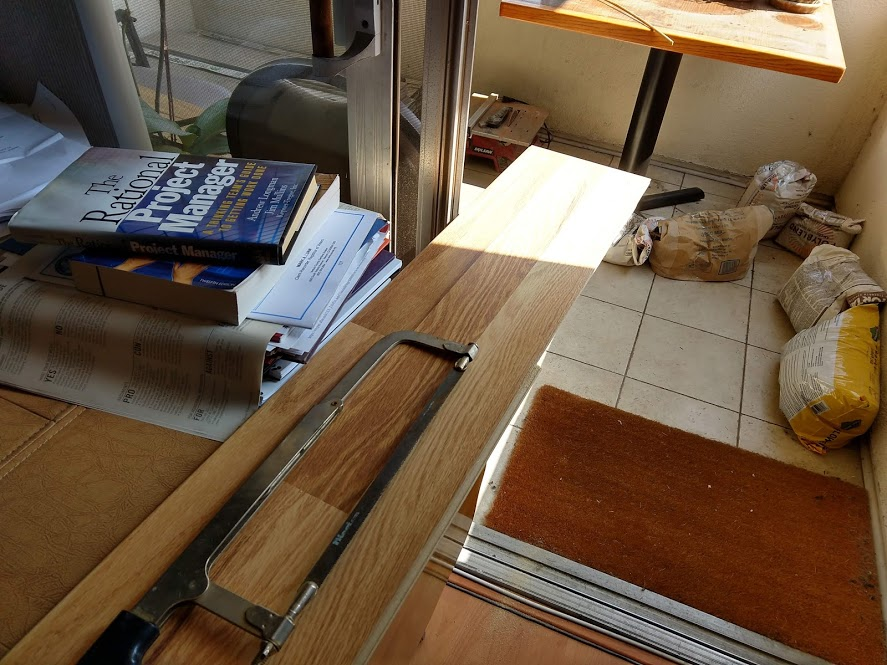
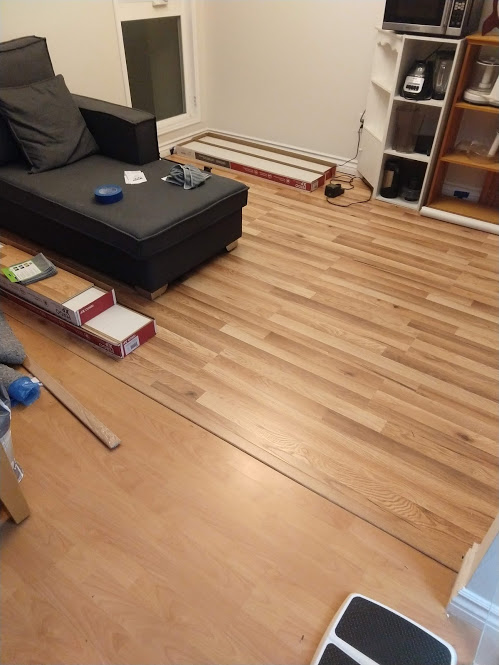
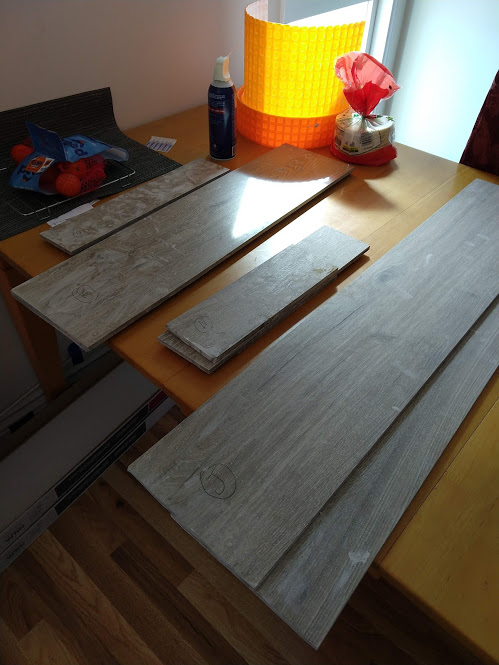
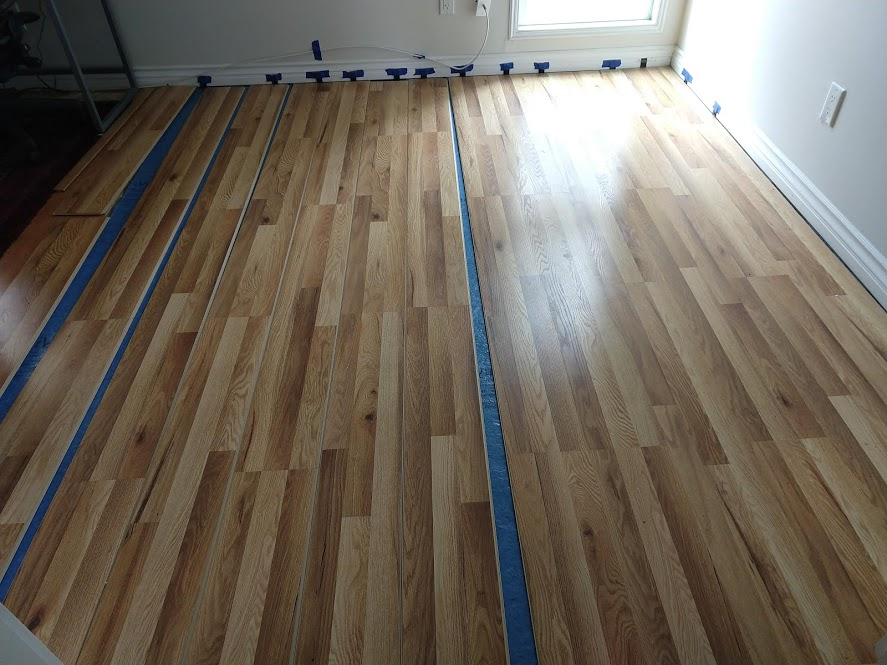
Now, back to the flooring! One night, I got tired of waiting and laid out a bunch of the boards:
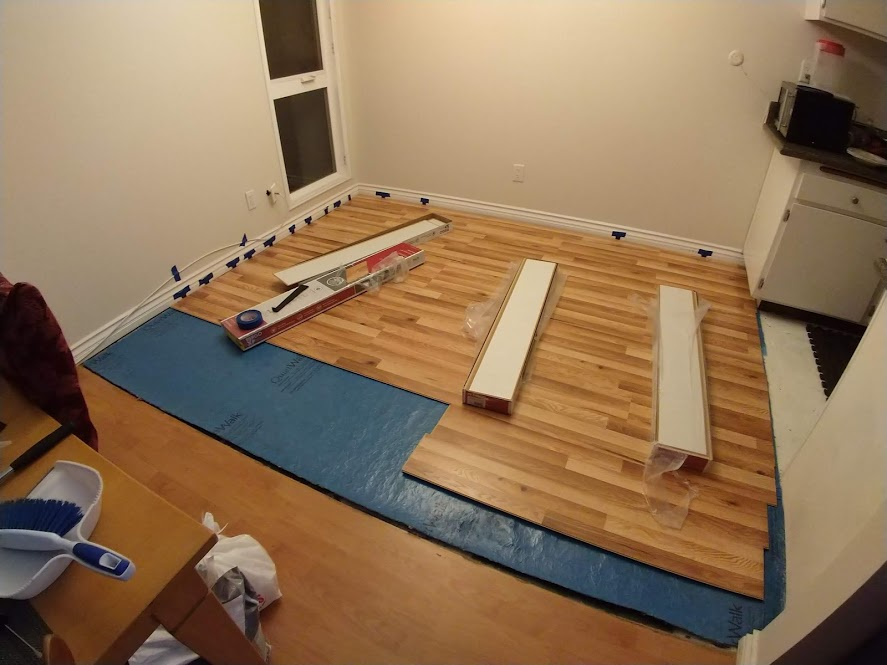
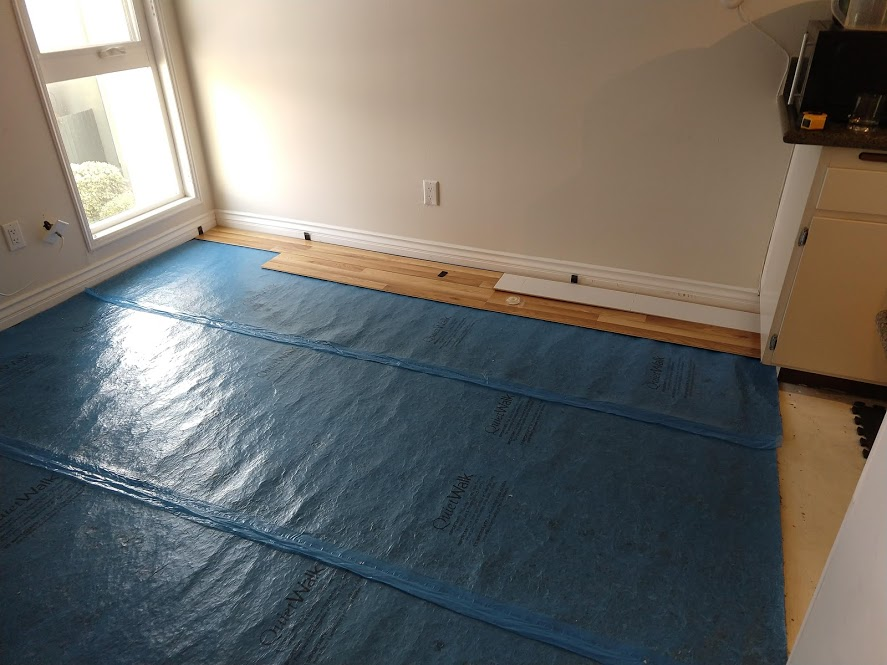
Around this time in mid-October, John injured his neck and was laid up, unable to even move for the pain he was in. This definitely put a damper on our project, but that's what flexibility is for. It's better to be gracious and patient. I resumed work in early November:
Then, by late November, we'd finished the dining area flooring! A little piece at a time, on the weekends and after my work was over.
Most importantly, I got my working space back! I could stare out the window whilst I thought, again.
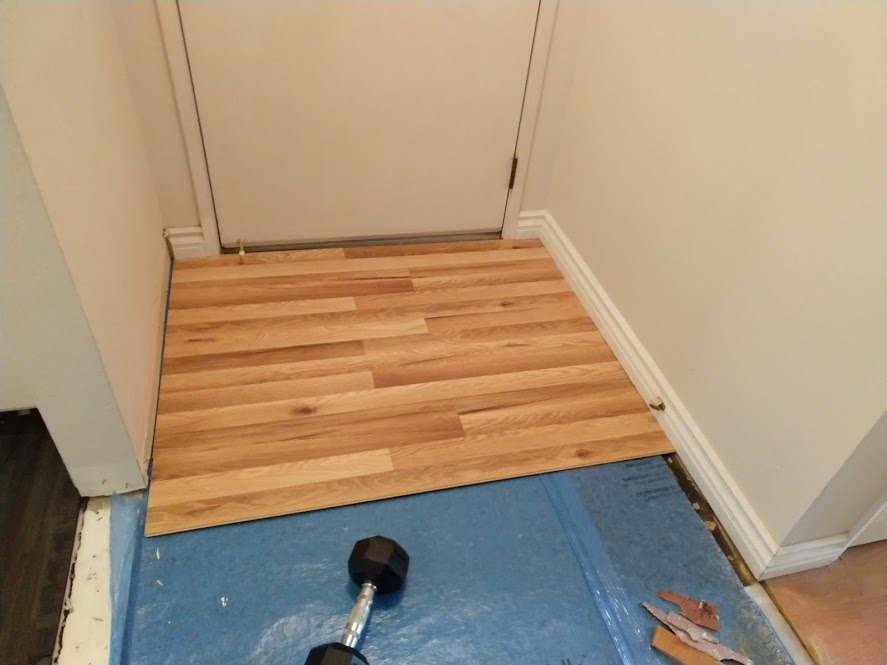
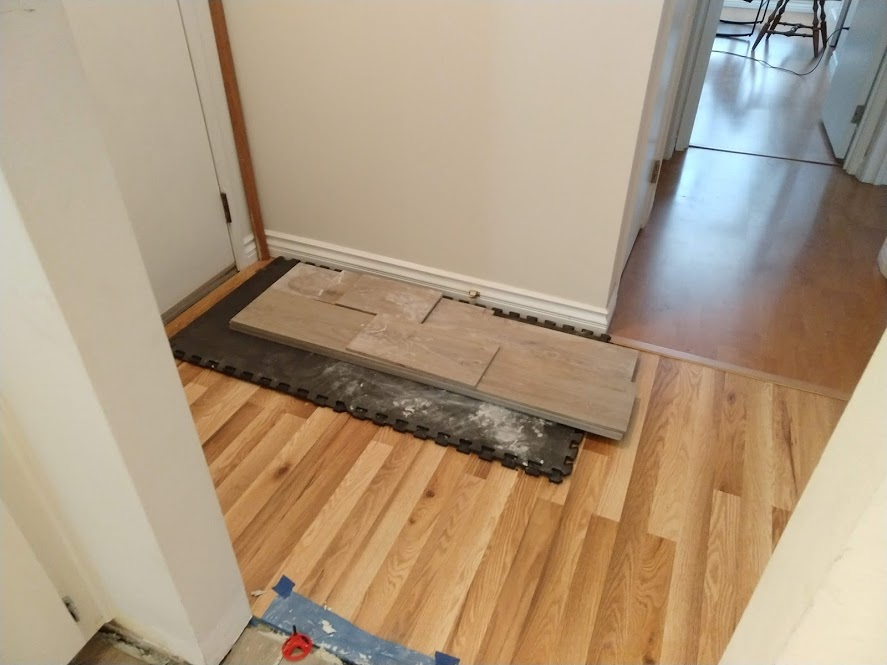
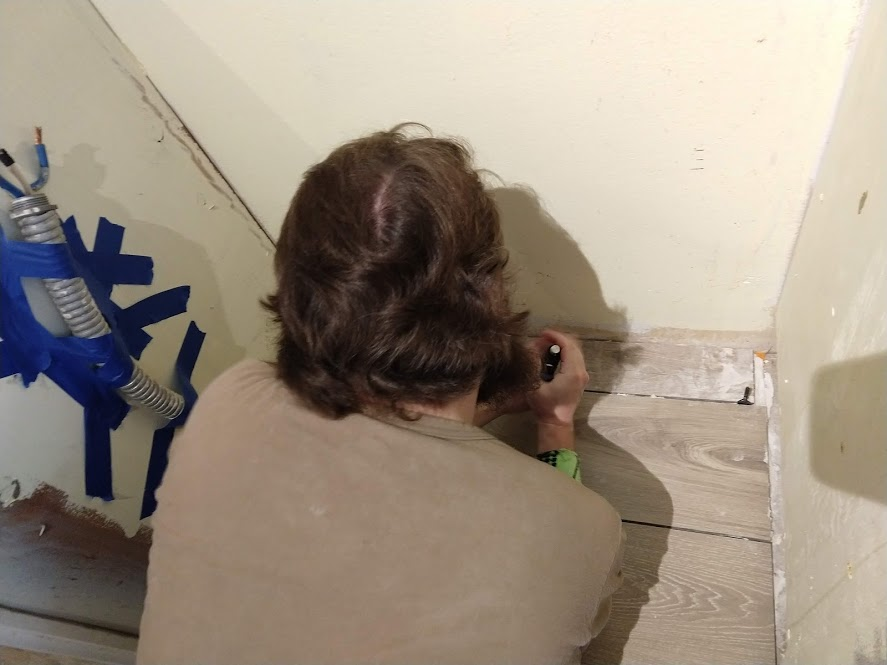
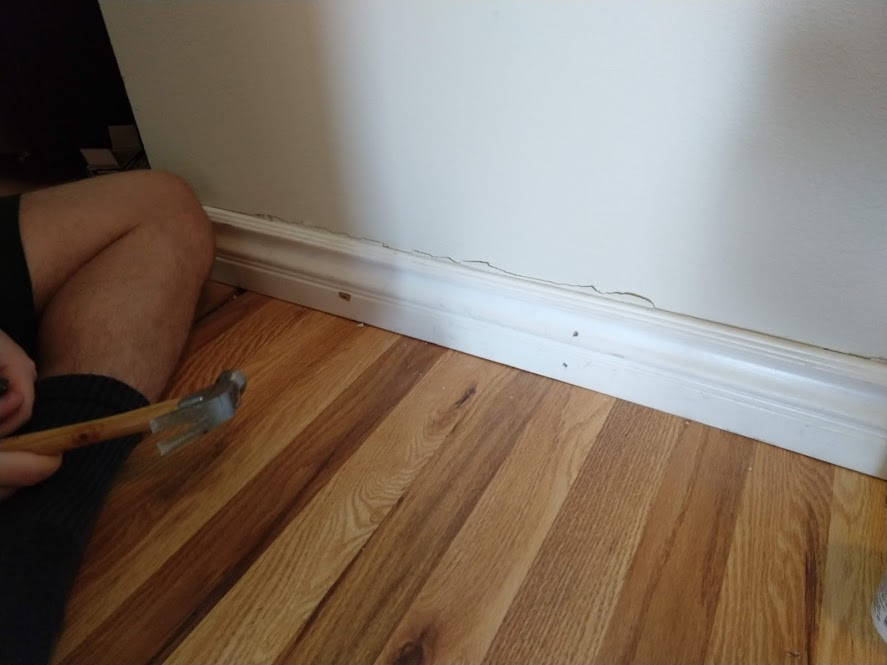
Our next item on the agenda: the entryway area. This is a much smaller area, but it's tighter too. And there's baseboards to consider.
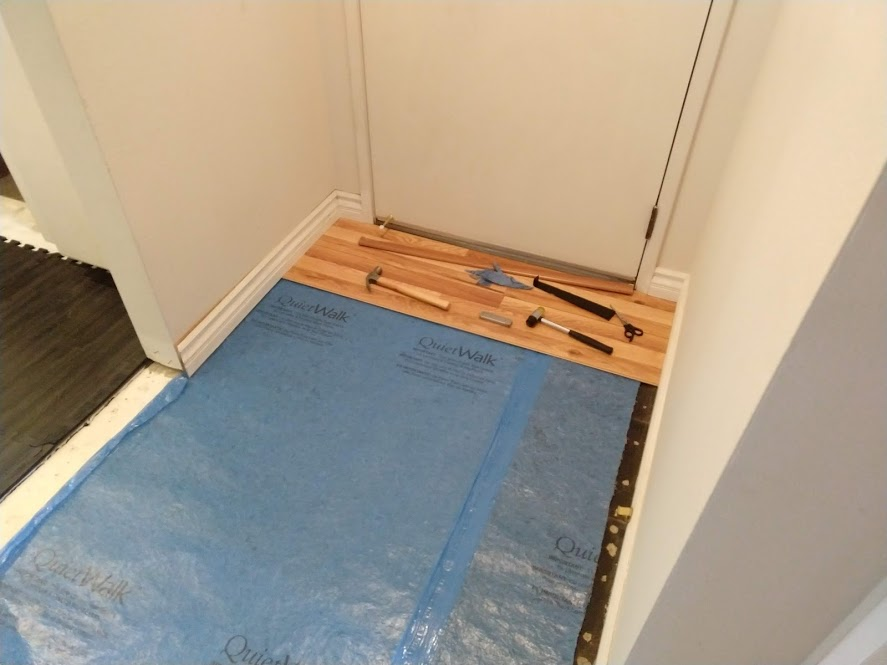
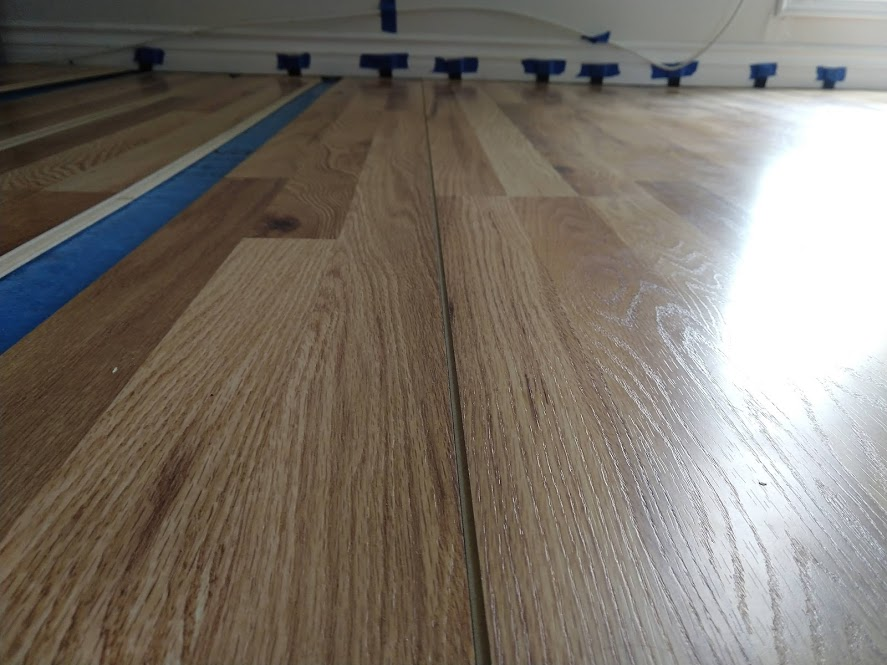
It was so tight getting the first board in. I needed to file down the underside of the baseboard since there was one snag, and I ended up levering the board into place. But it fit! Perfectly!
We had to pull the baseboard off on the opposite side, but at least it worked going forward:
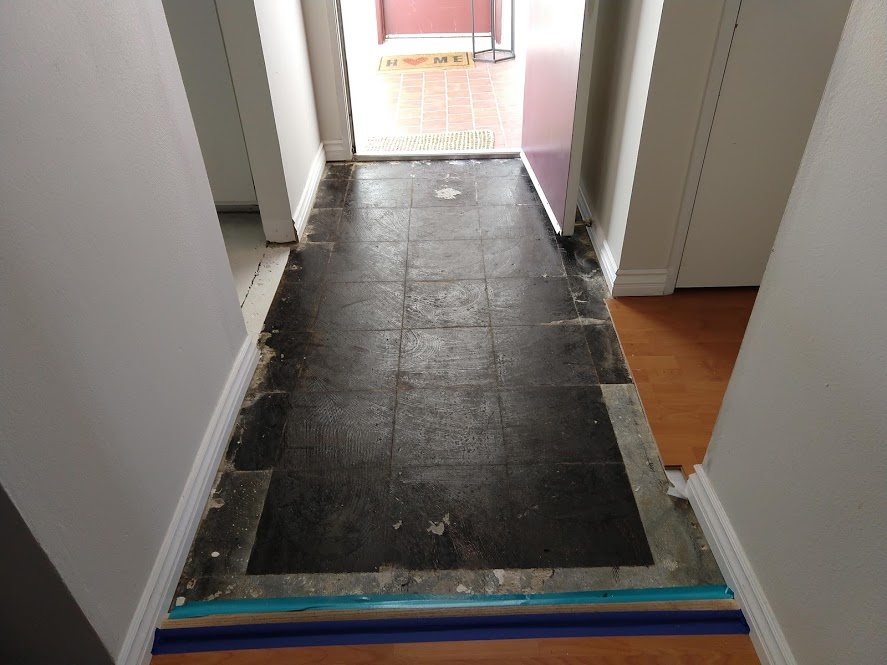
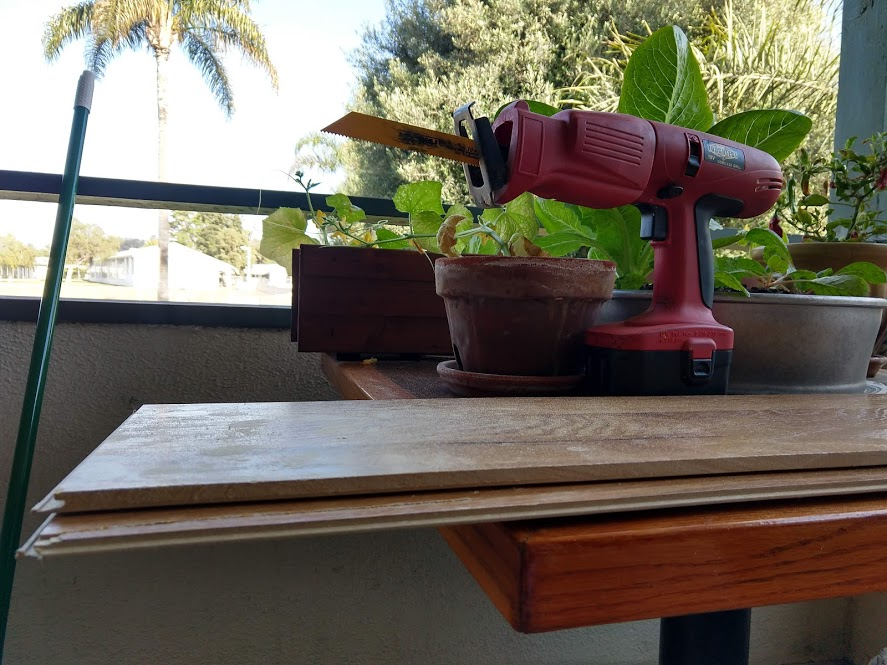
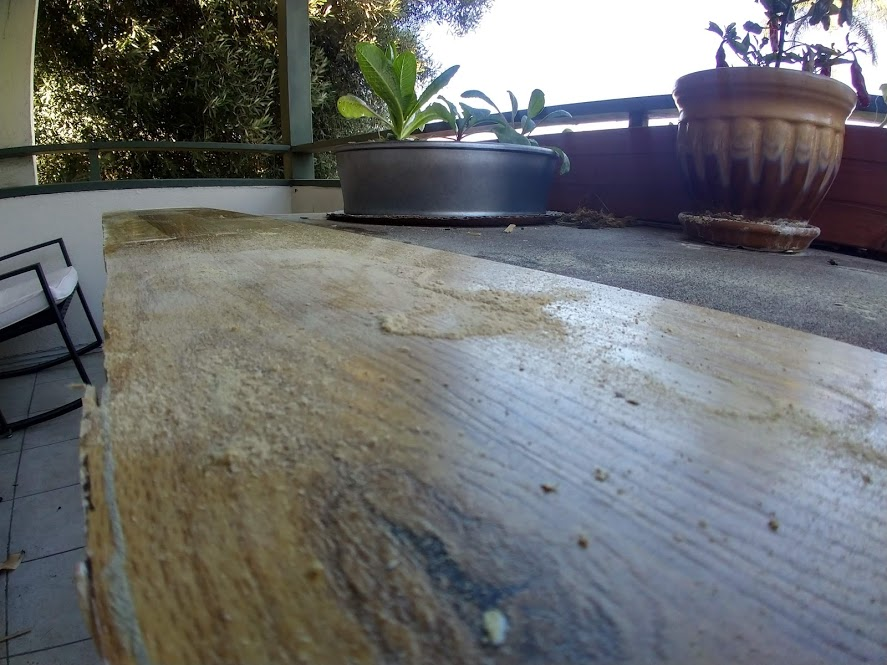
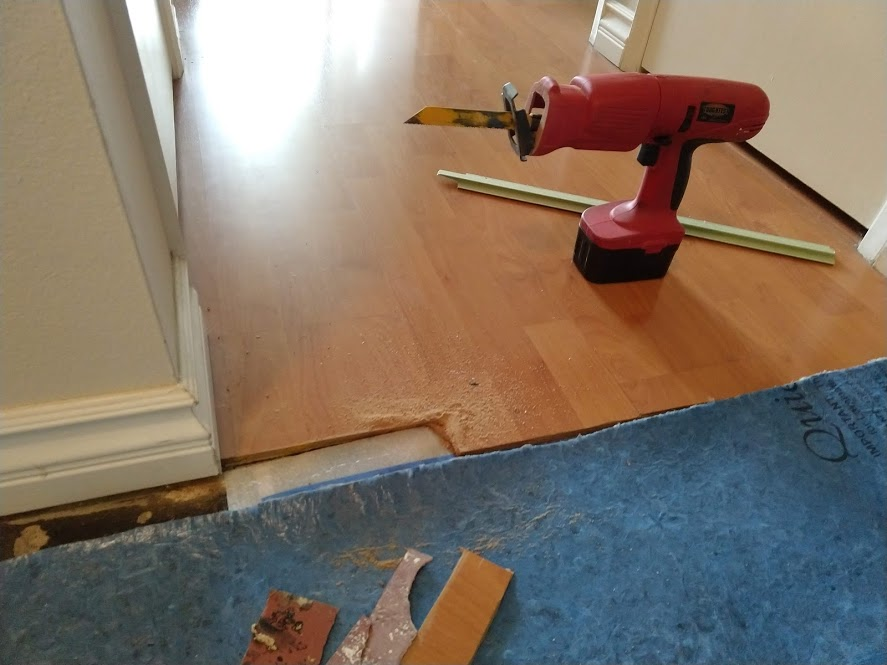
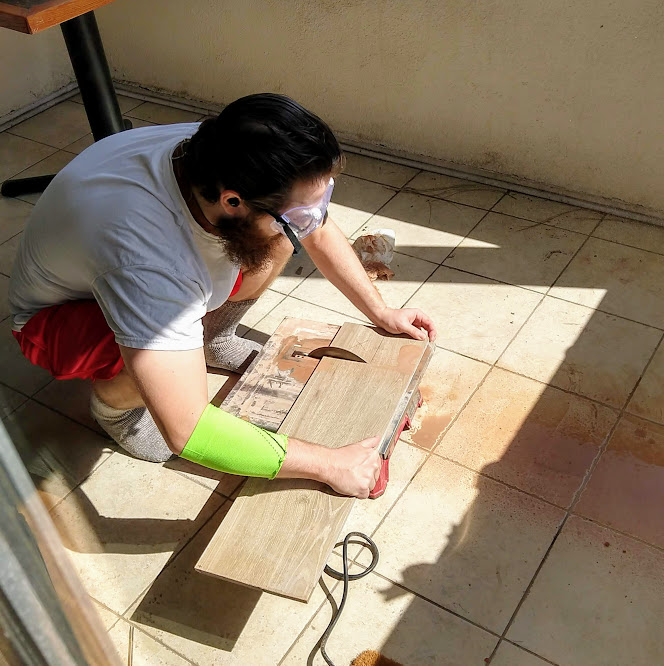
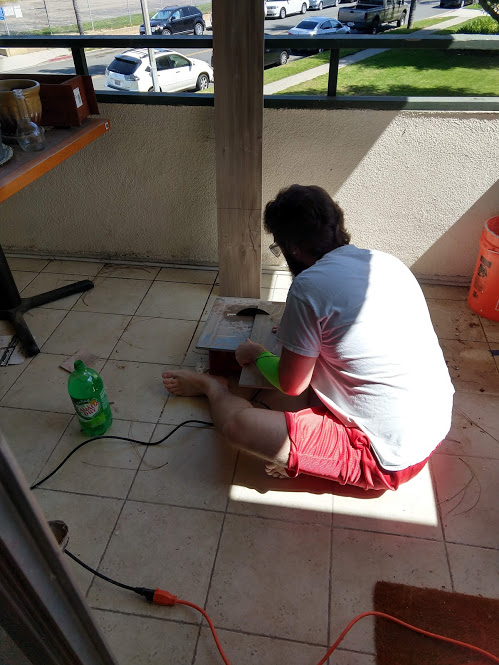
When the demolitions were going on, the removal company used a saw to cut the boards in the hallway. Well, they weren't quite cut at a useful depth for me. So I tasked my woodsaw with the rest:
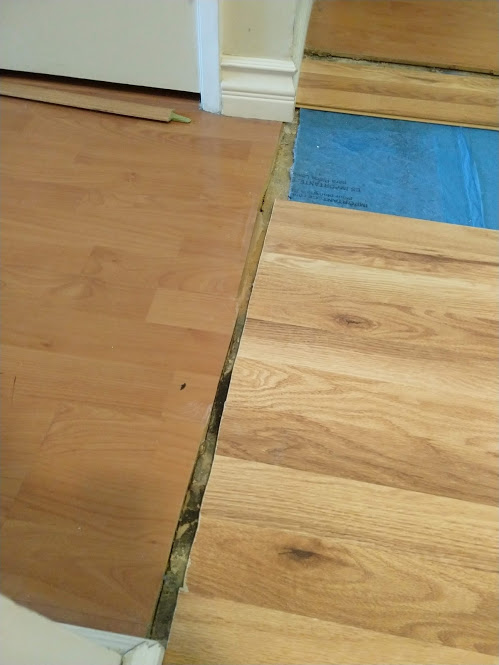
Thus ends December 2020, and the main portion of the entryway.
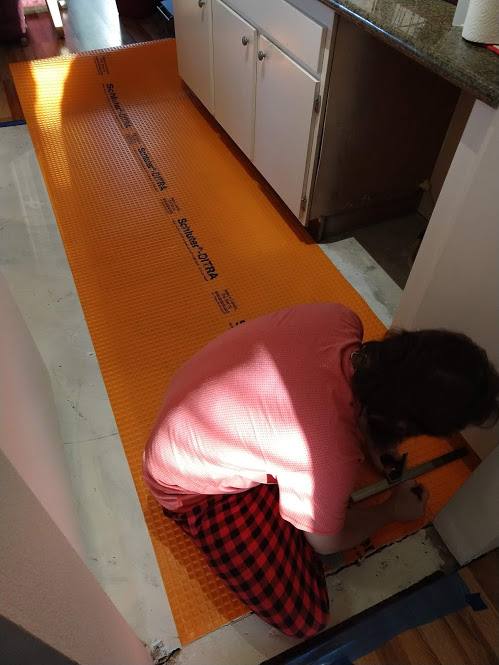
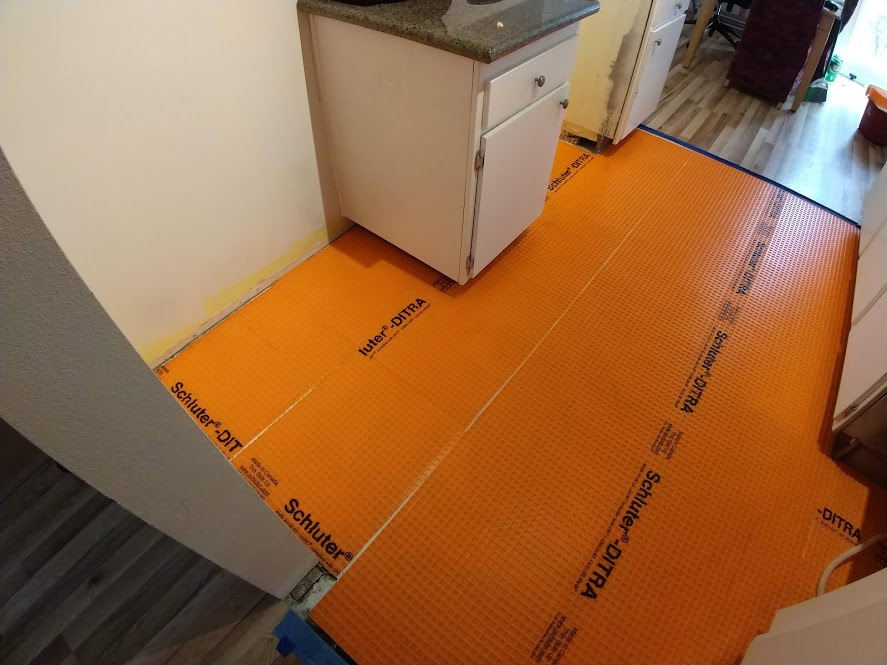
Now we skip ahead to mid-March 2021, with the star of the renovation: the tile kitchen floor!
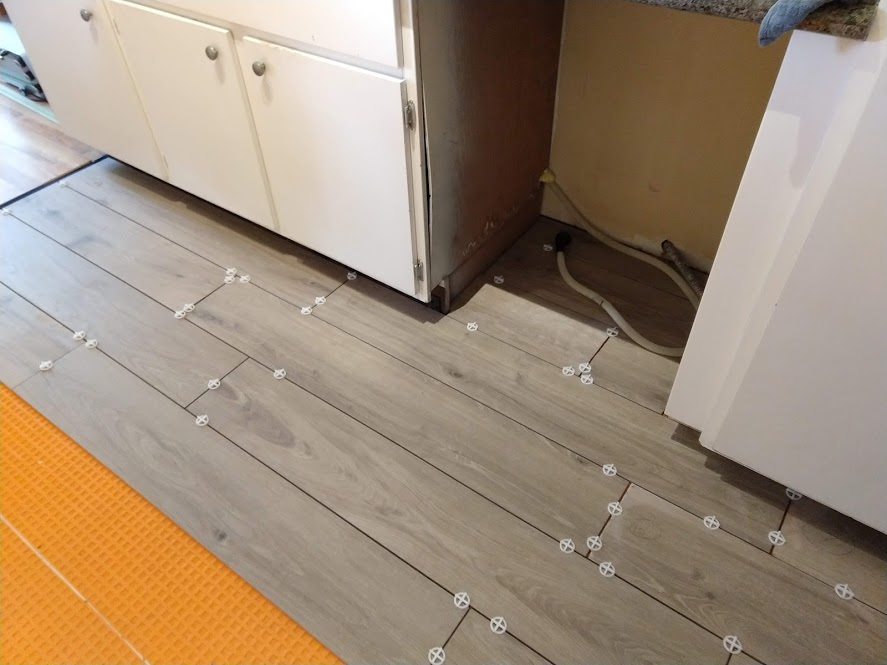
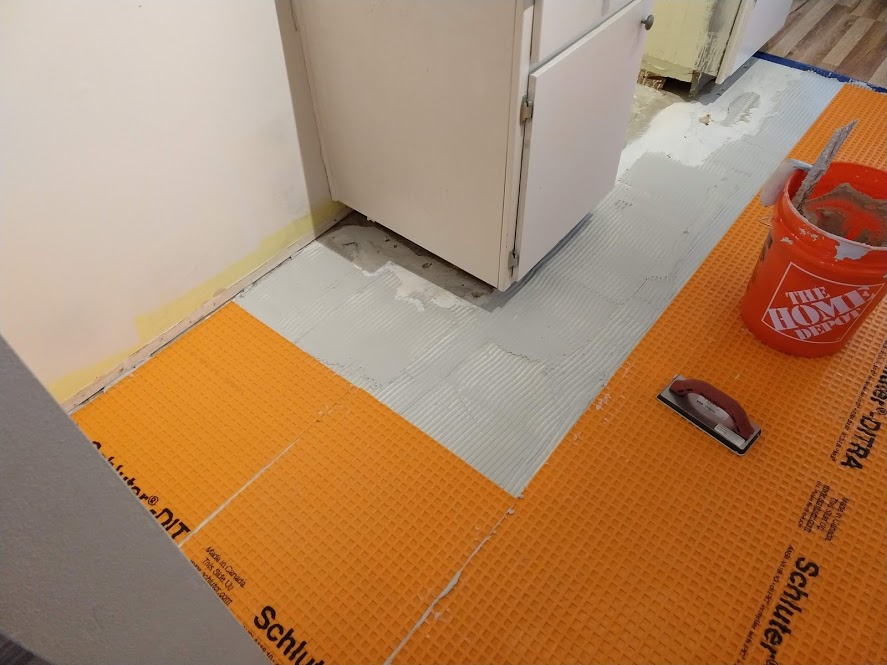
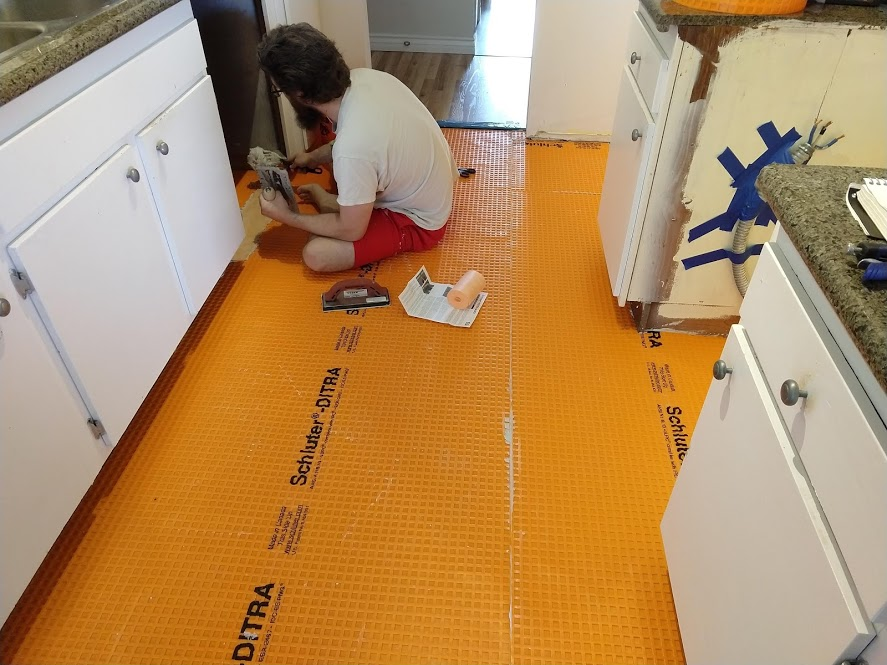
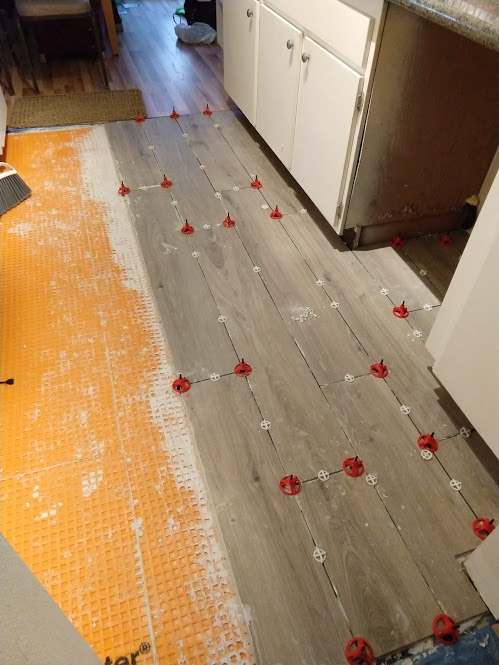
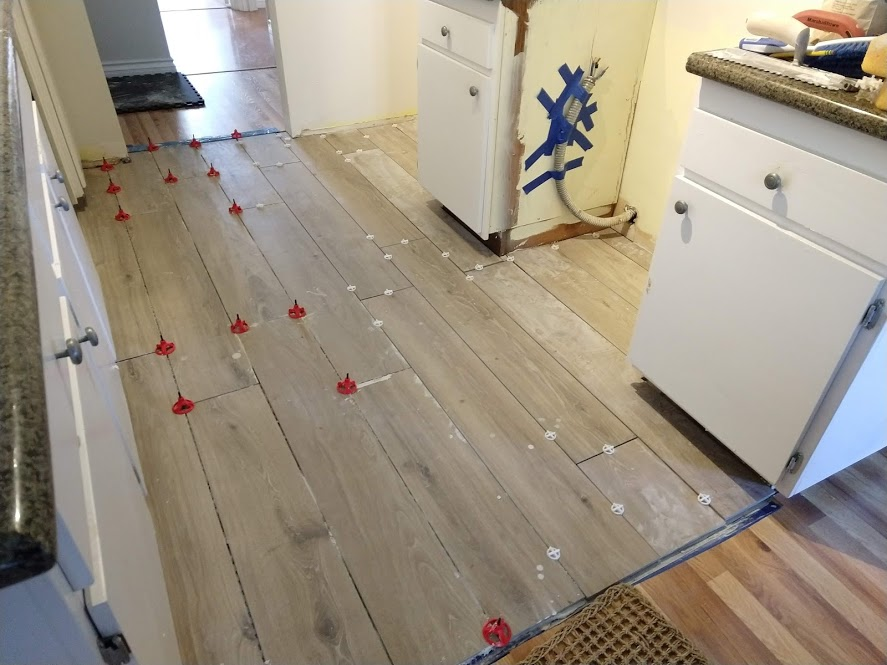
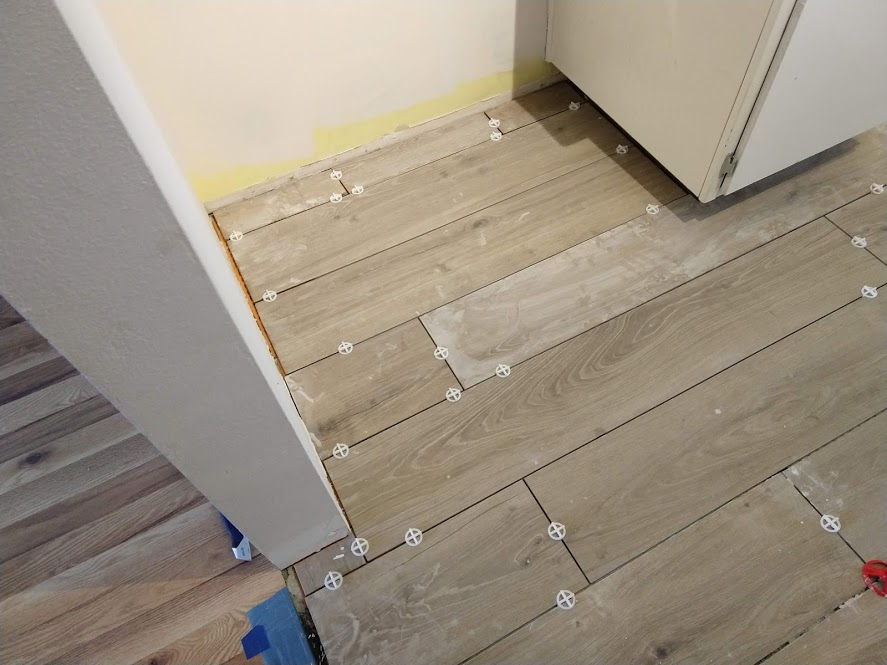
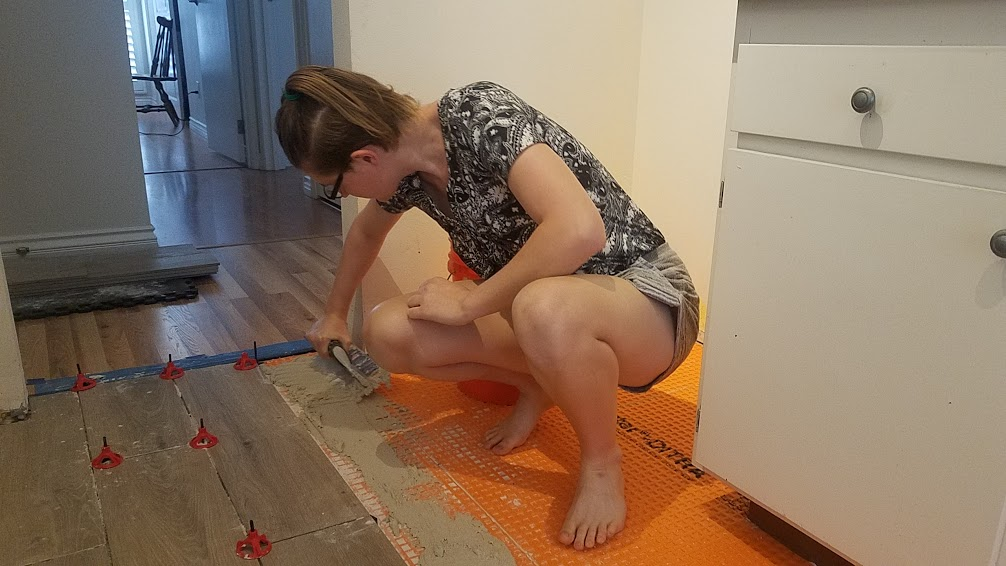
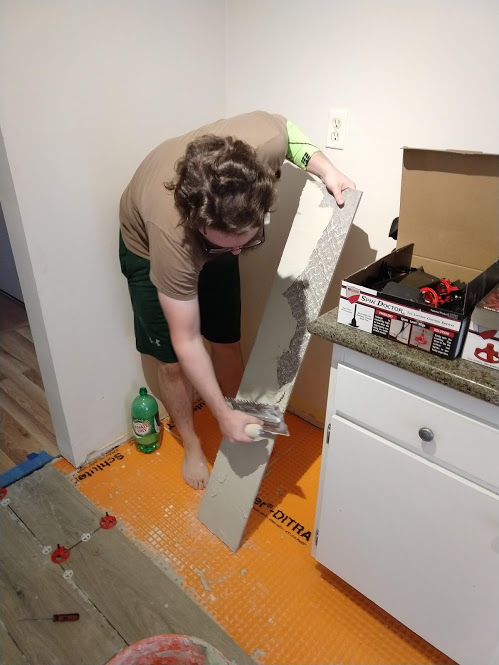
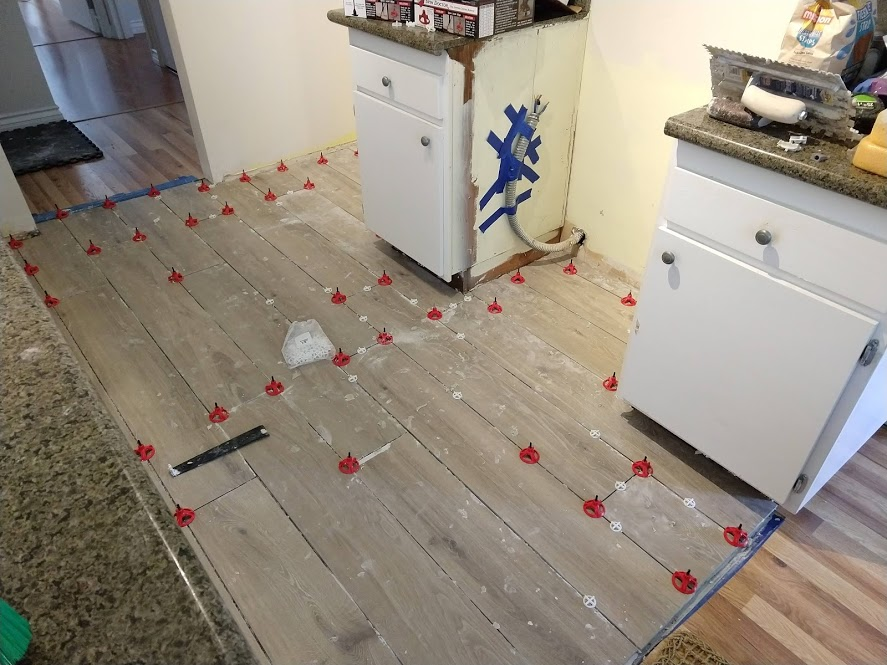
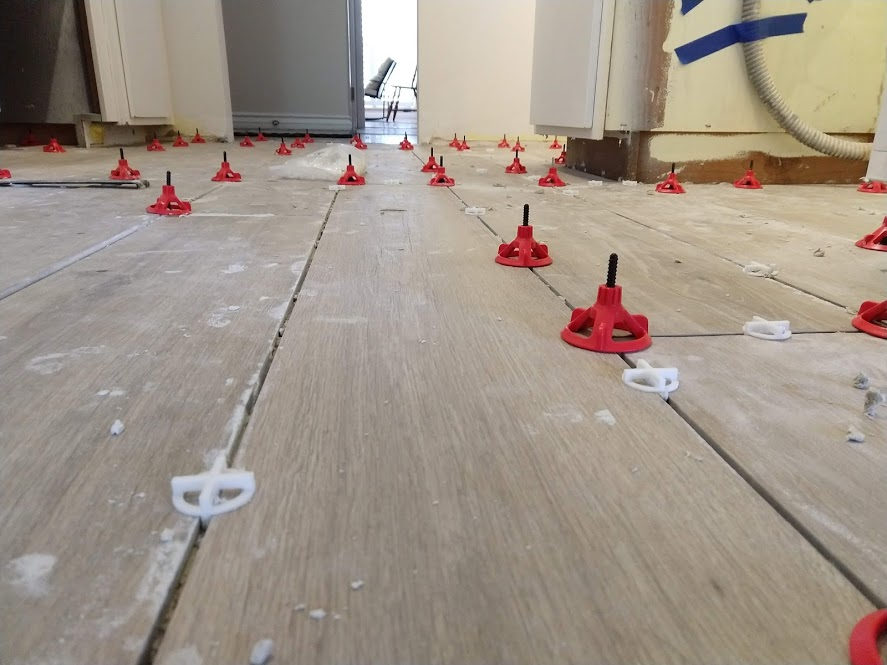
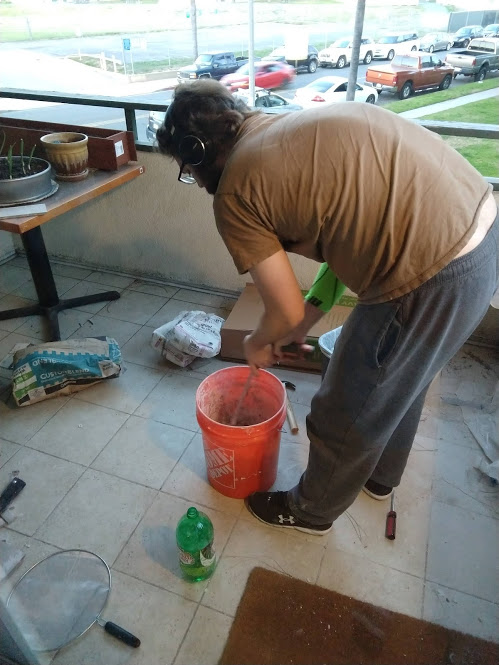
We let the mortar dry overnight, and came back the next day to remove the spacers and the levelling system:

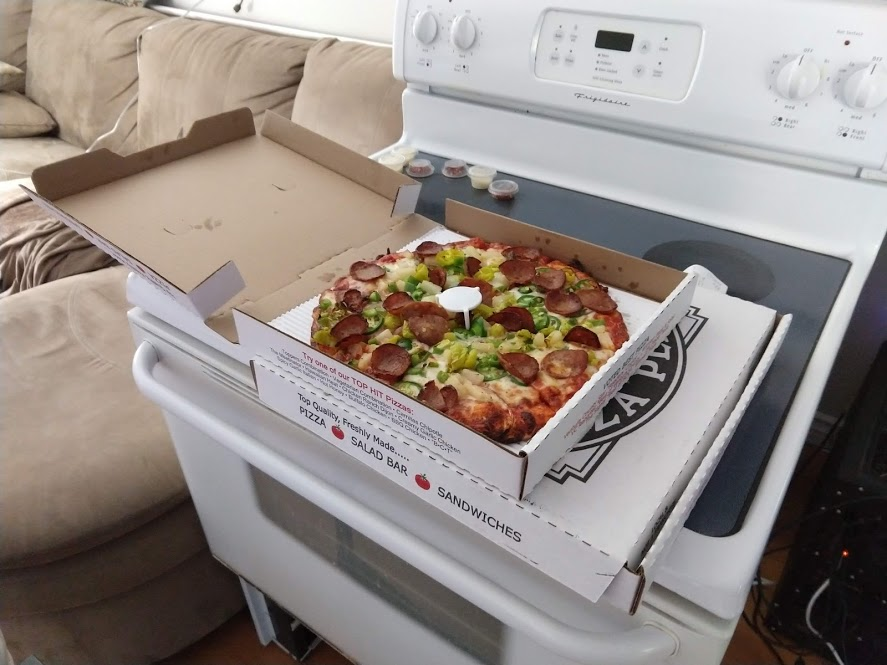
I'd promised John early on that we could get pizza when we were done. Since we were so close and he asked me again, I decided to be flexible and permit him to do so. It was a work night, so our time and energy were short for cooking without a stove anyway.
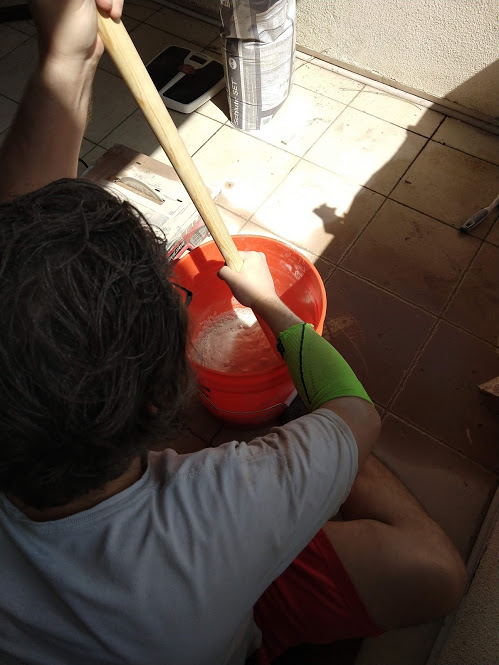
After dinner all that was left for us to do for the evening was grouting:

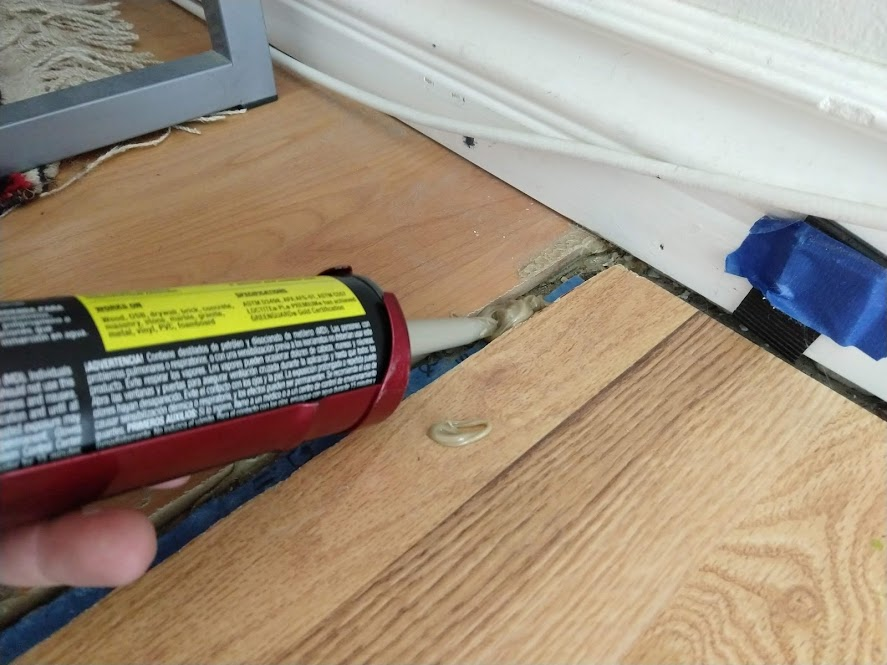
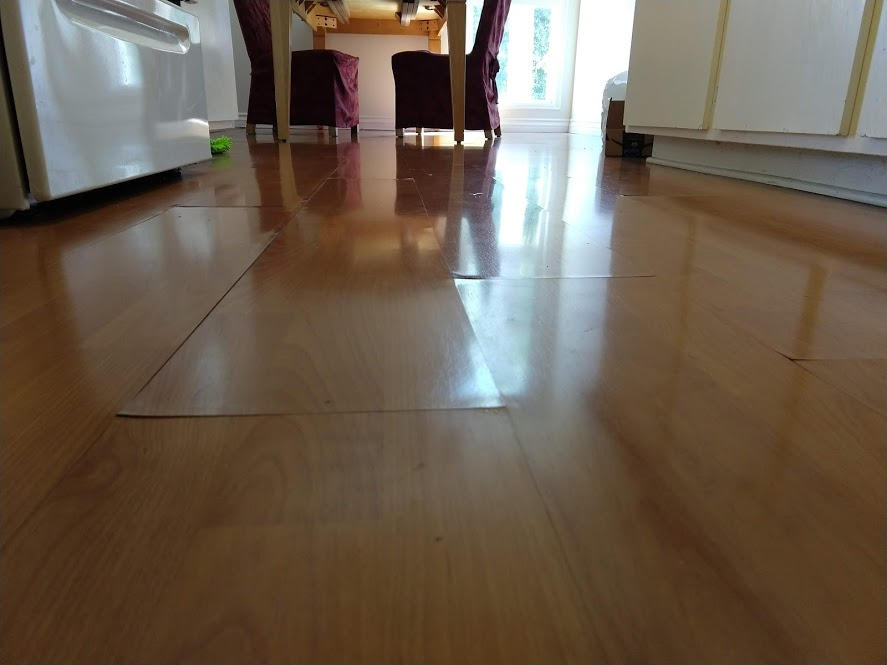
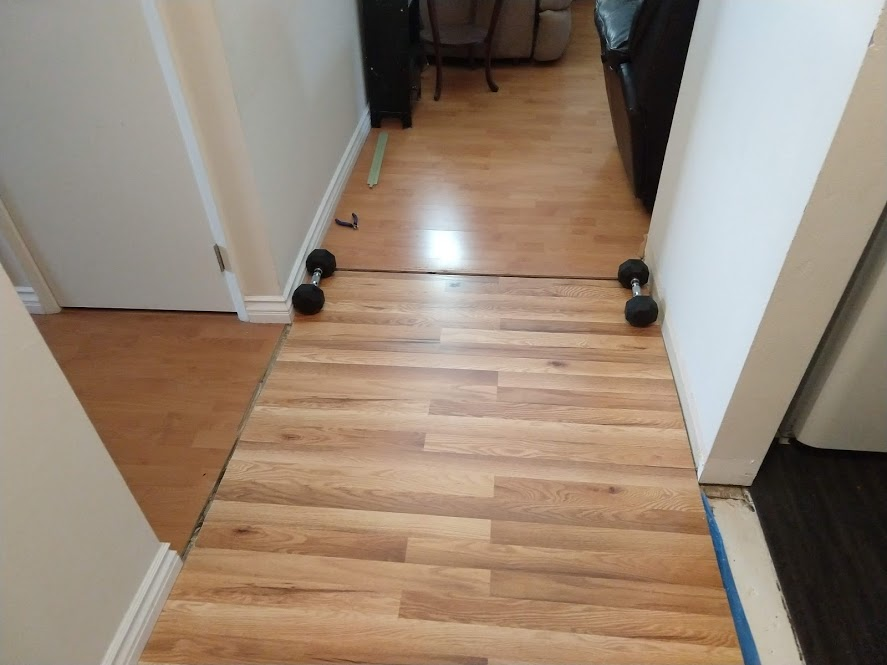
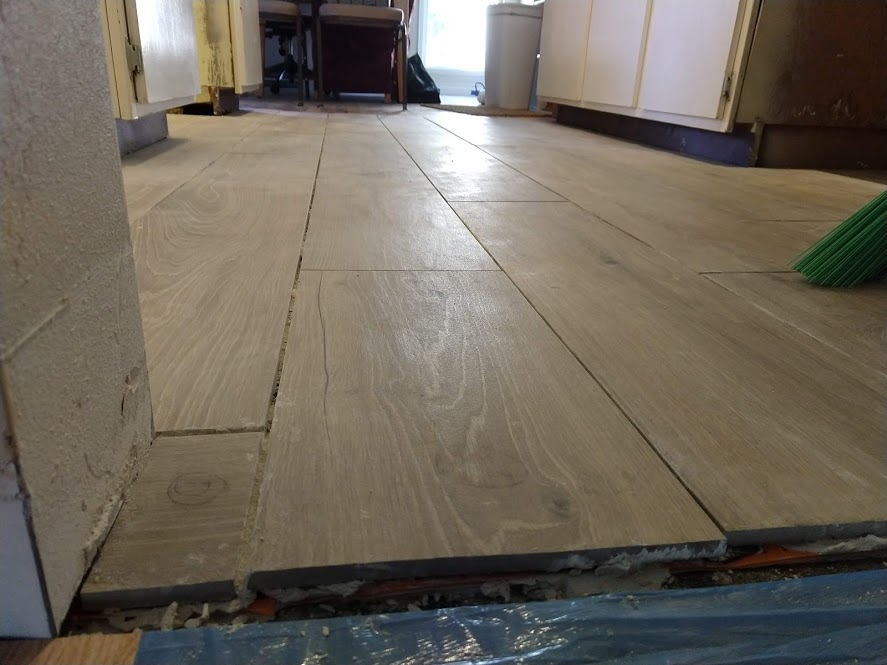
After a wait for shipping, we finally received the transition strips. I used it as an opportunity to redo the floor to remove a couple cracks in the wood laminate.
John put the baseboard back onto the entryway walls:
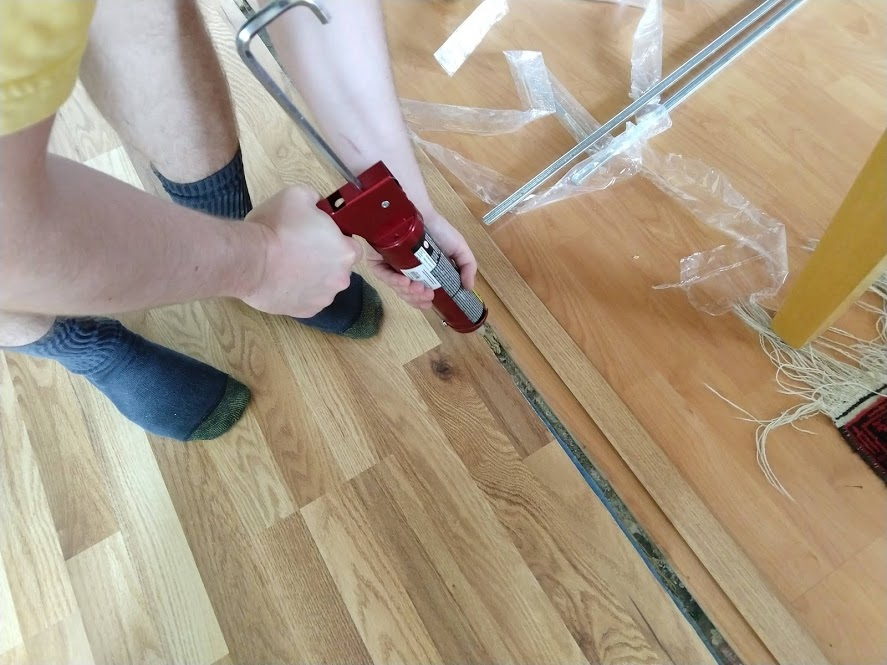
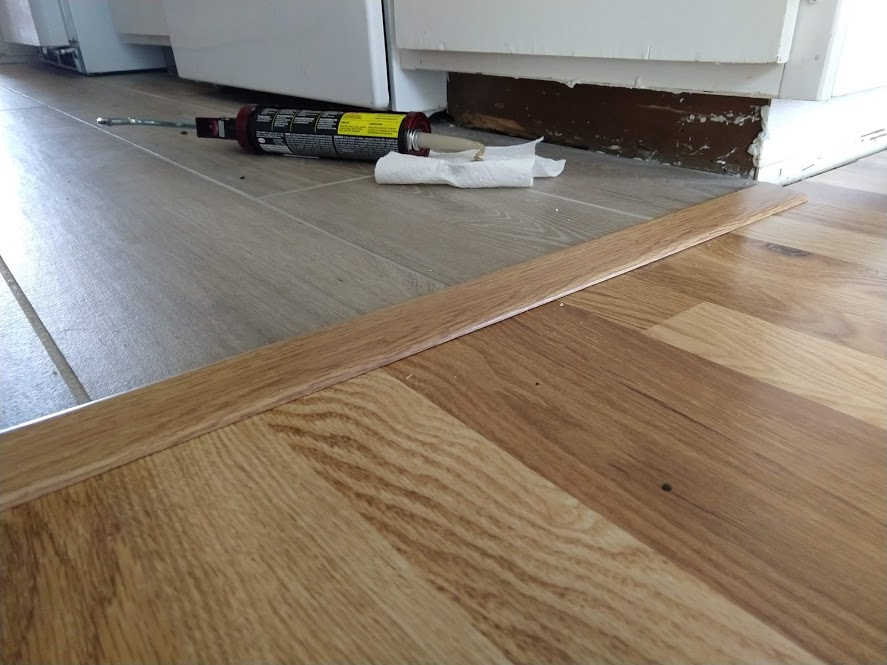
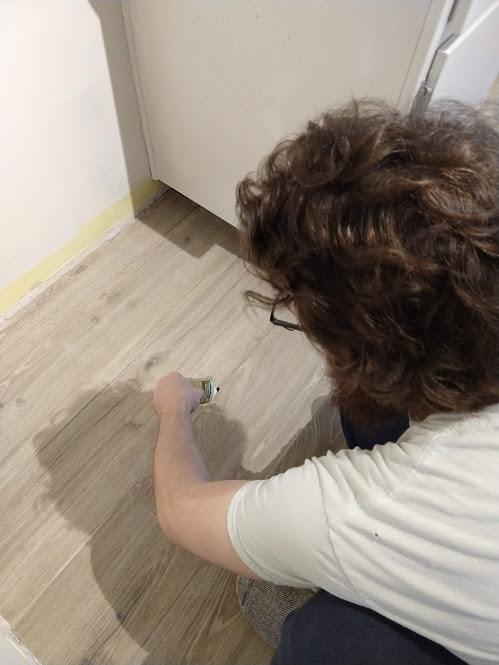
Now for the transition strips. We're using construction glue to affix them: