Parallel LED Control with TinyGo on an Arduino UNO
As a proof of concept I flashed my Arduino UNO with a TinyGo program that controls three component colours of an RGB LED using goroutines.


As a proof of concept I flashed my Arduino UNO with a TinyGo program that controls three component colours of an RGB LED using goroutines.
In short what my blinky program does is create three periodic square waves with 50% duty cycles: one with 1.0 second period, one with 0.8 second period, and one with 1.2 second period.
The LEDs will occasionally synchronise to form "beats:"
 Contributors to Wikimedia projects
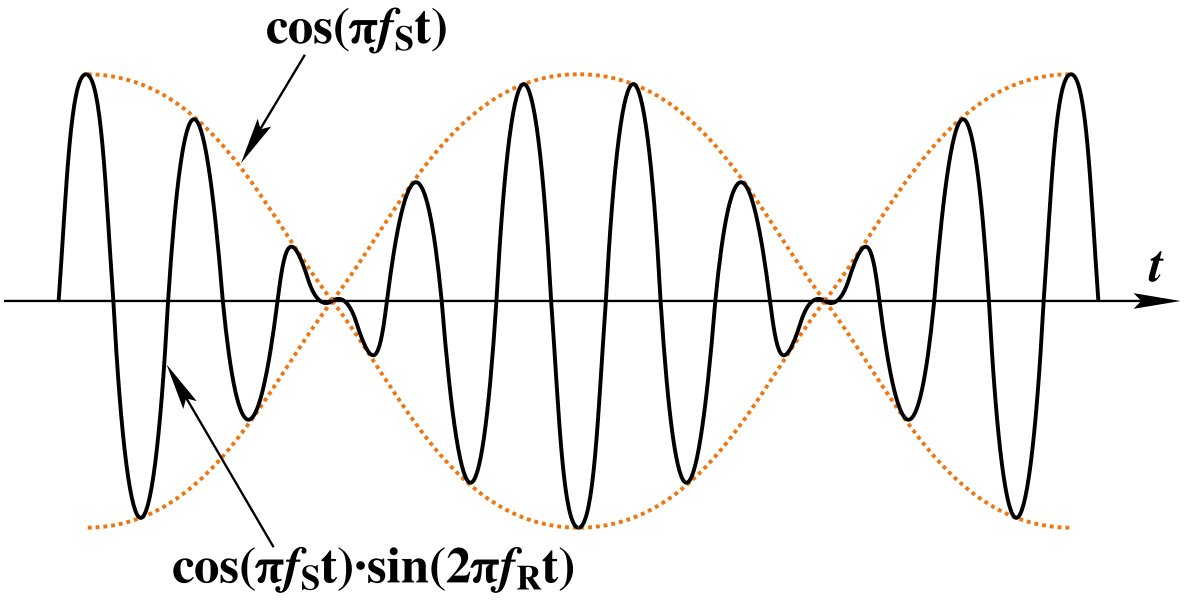
If you check out the video below, you can see that the colours come into their beats with each other, as shown by the colour turning white:
Here's the code:
package main

import (
    "machine"
    "time"
)

func main() {
    go led1()
    go led2()
    led3()
}

func led1() {
    led := machine.D2
    led.Configure(machine.PinConfig{Mode: machine.PinOutput})
    for {
        led.High()
        delay(500)
        led.Low()
        delay(500)
    }
}

func led2() {
    led := machine.D3
    led.Configure(machine.PinConfig{Mode: machine.PinOutput})
    for {
        led.High()
        delay(400)
        led.Low()
        delay(400)
    }
}

func led3() {
    led := machine.D4
    led.Configure(machine.PinConfig{Mode: machine.PinOutput})
    for {
        led.High()
        delay(600)
        led.Low()
        delay(600)
    }
}

func delay(t int64) {
    time.Sleep(time.Duration(1000000 * t))
}
The trick to this whole program is the goroutines, as seen in "go led1()". The "go" keyword makes the execution happen in parallel.
Normally in my experience with microcontrollers, everything is serial and not parallel. It's a constant pain point to not be able to have parallel execution.
Thankfully, TinyGo solves this for me! It's much easier to write something like this than typical C-family language you use in the Arduino IDE.


